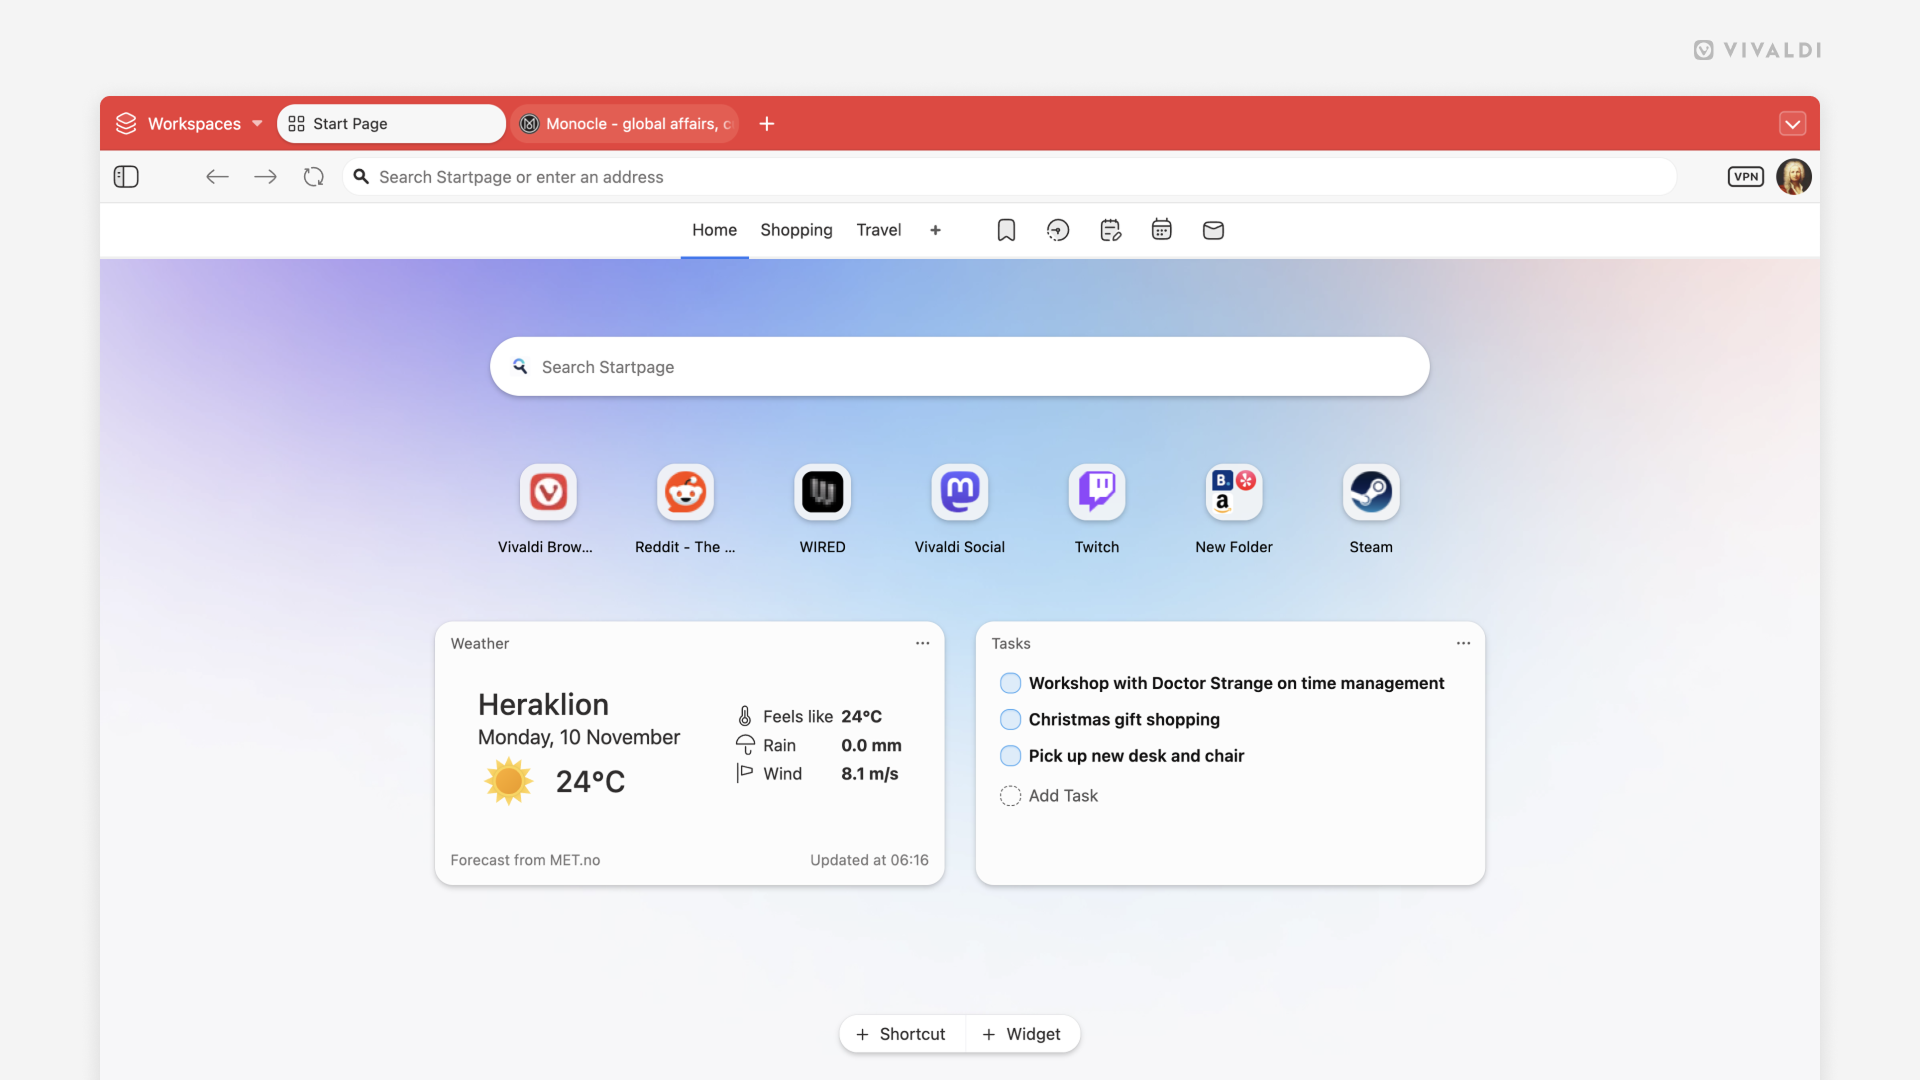
Desktop Tips
Tip #787
January 29, 2026
Restrict pinned tabs to the current site.
Pinning tabs allows you to keep your most-used tabs open and available in the same location at all times. But that doesn’t prevent you from straying from the originally pinned site. To make sure your pinned tabs stays on the site, you can restrict browsing in that tab to the pinned domain.
To keep the Pinned Tabs locked to the same domain:
- Right-click on the pinned tab.
- Select Restrict Pinned Tab to Current Site.
When enabled, all links from the same domain will open in the pinned tab and all links from other domains will open in new regular tabs.
Tip #786
January 27, 2026
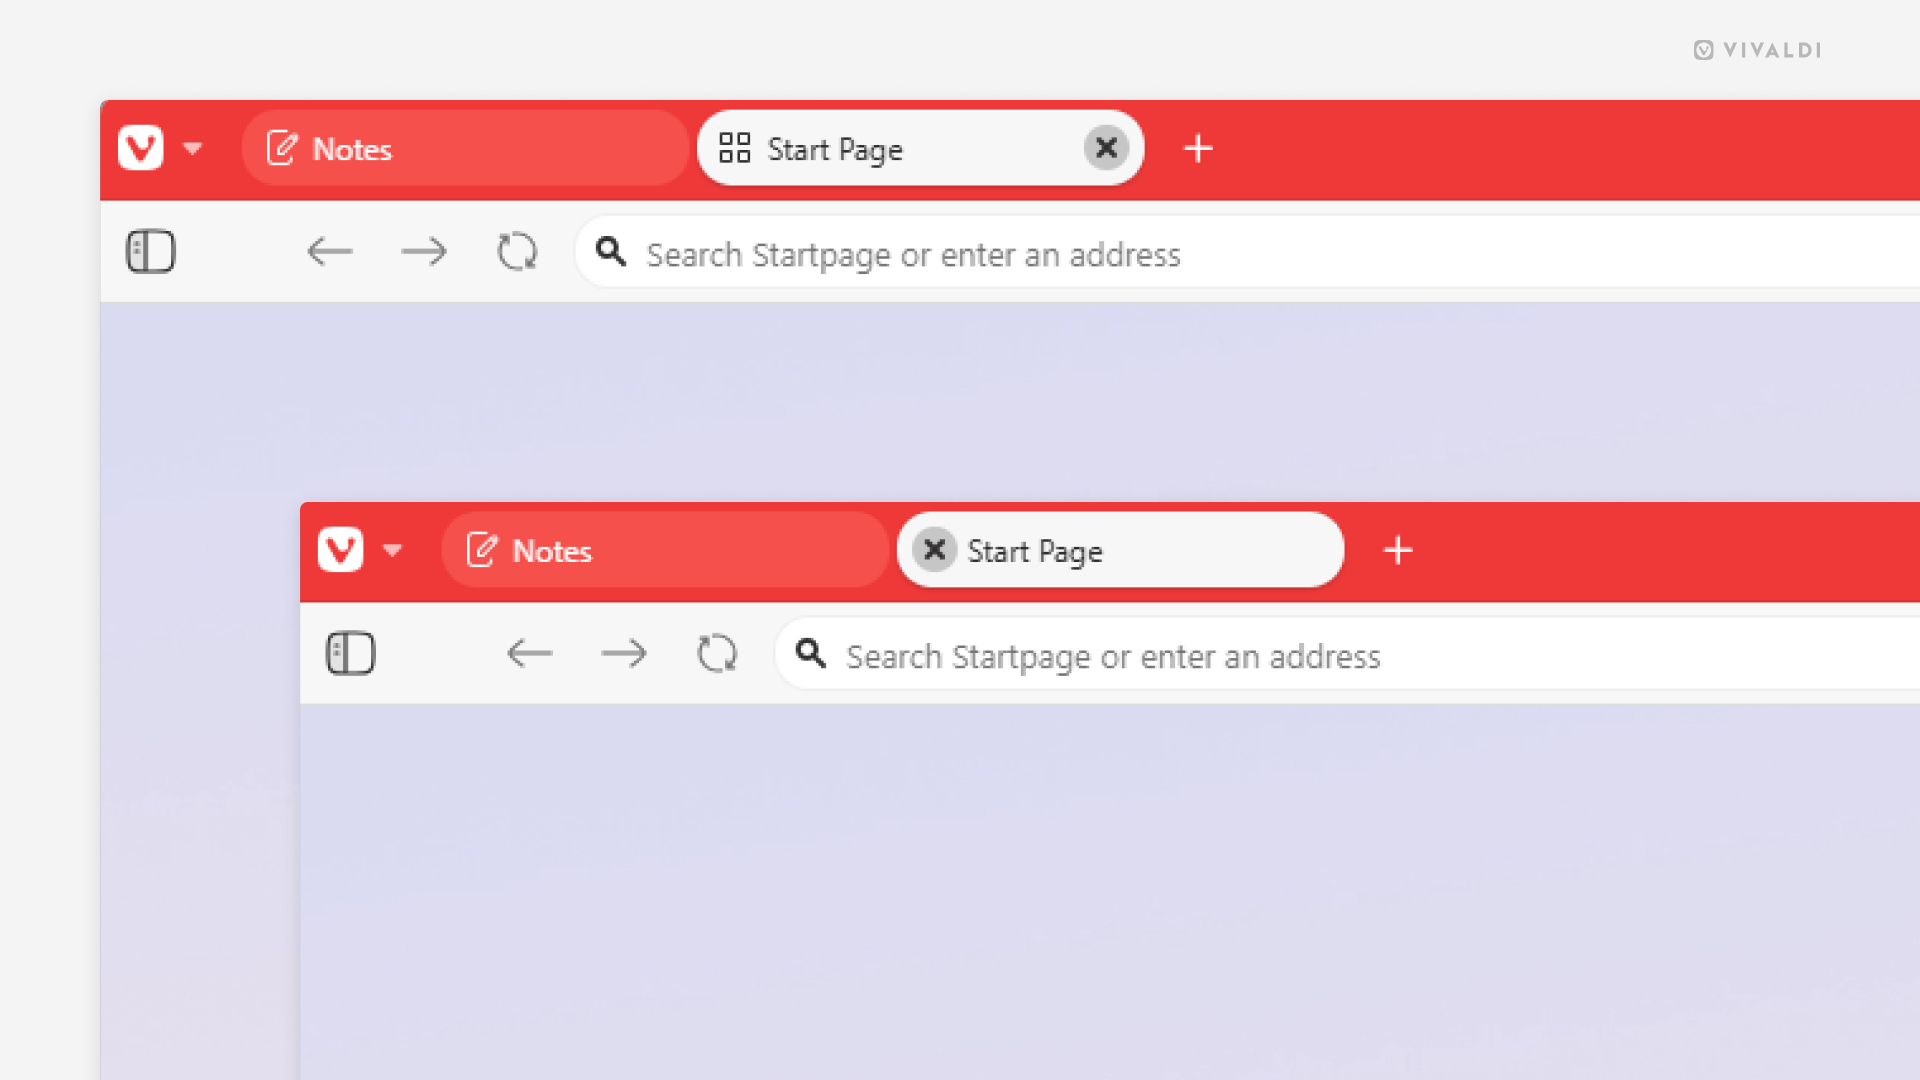
Place the Tabs close button where it’s convenient for you.
Vivaldi is famous for allowing you to configure the smallest of details. One such detail is the location of the tabs close button on the Tab Bar.
To choose the close button’s side:
- Go to Settings > Tabs > Tab Display > Tab Options.
- From “Display Close Button’s” subsettings, toggle “On Left Side” on or off, as needed.
Tip #785
January 22, 2026
Reuse or delete Workspaces that no longer serve a purpose.
When you’re done with a project that you created a Workspace for in Vivaldi it’s time to reuse it for a new project, or if there are currently no new projects, just delete it.
To reuse a Workspace:
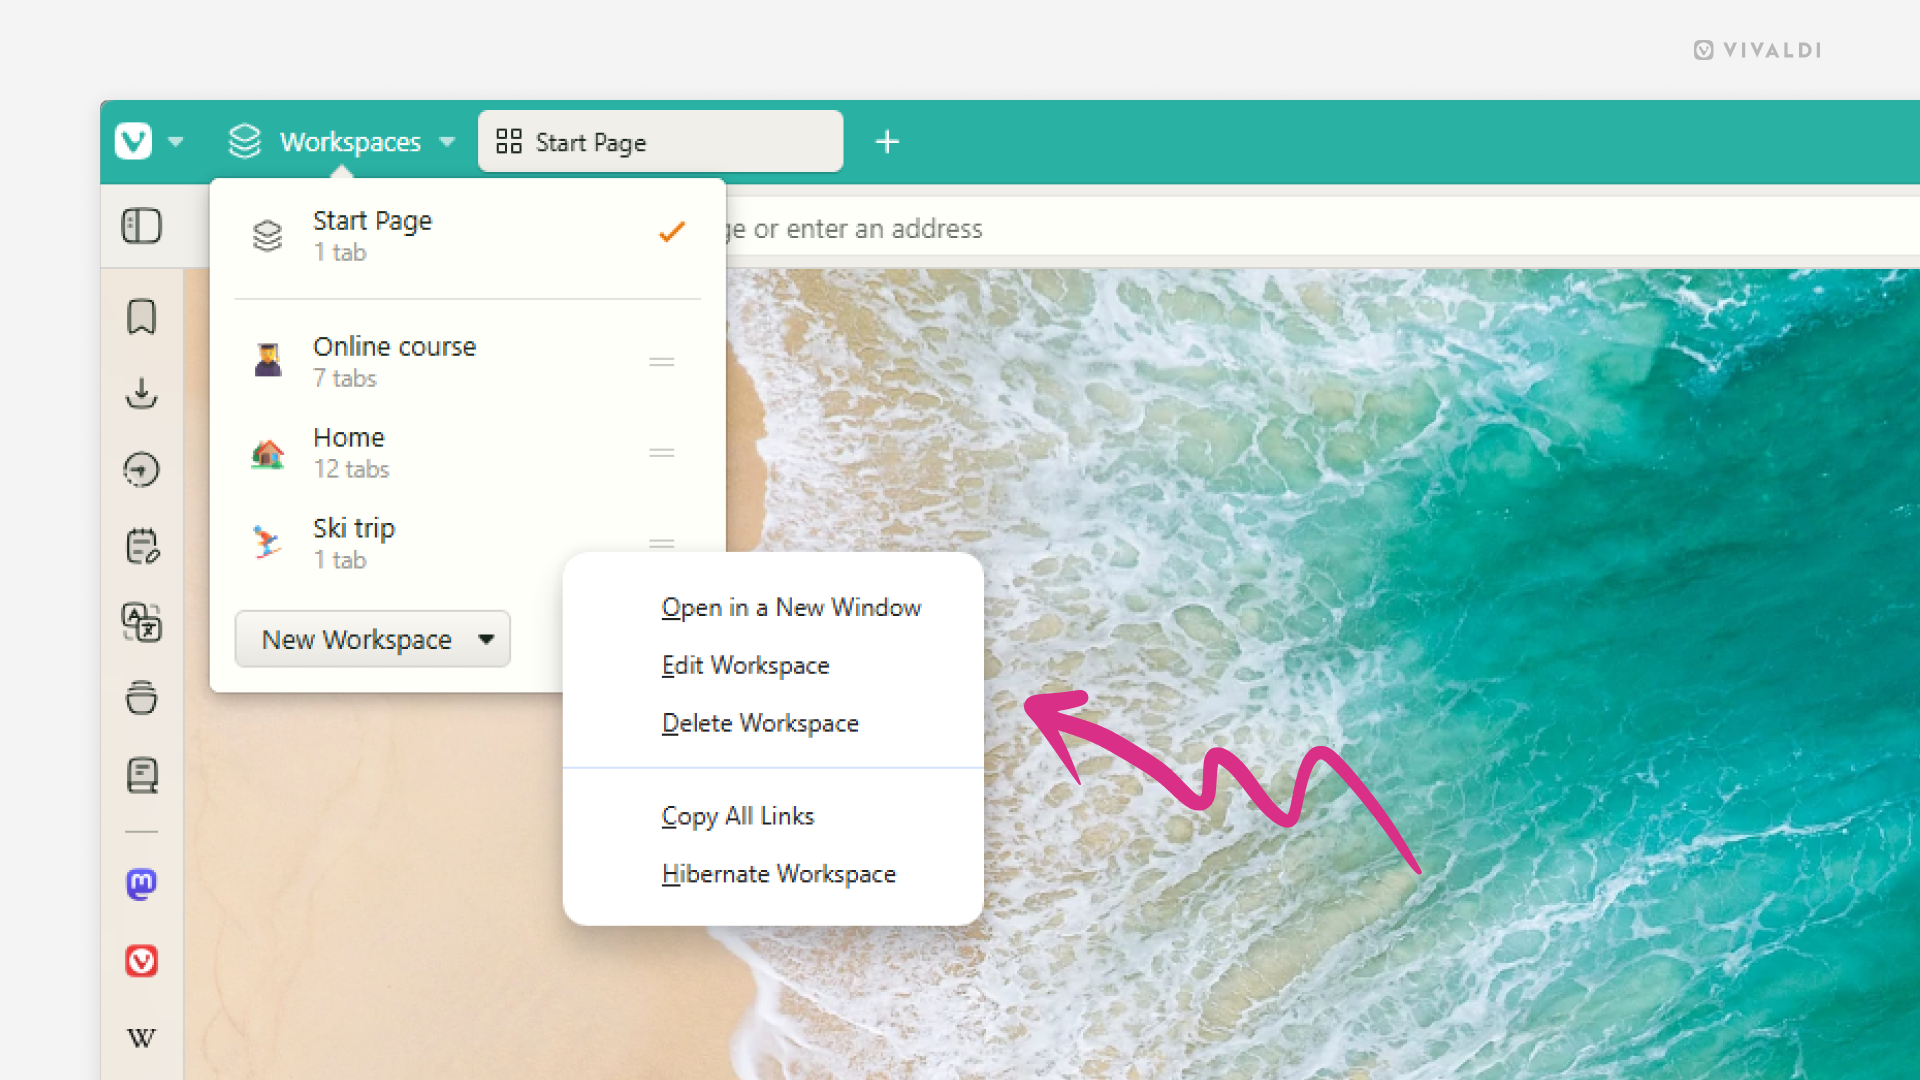
- Open the Workspaces menu.
- Right-click on the one you want update.
- Select “Edit Workspace” from the context menu.
- Give it a new name and select a new icon.
- Click “Done”.
- Close all tabs in the Workspace.
To delete a Workspace:
- Open the Workspaces menu.
- Right-click on the Workspace you want update.
- Select “Delete Workspace”.
Deleting a Workspace will also close all tabs in it. If you want to keep some tabs around, move the tabs first or reopen them from the Closed Tabs menu.
Tip #783
January 15, 2026
Open multiple Progressive Web App windows to improve your workflow.
Progressive Web Apps (PWAs) are a great way to make a website feel like an independent app without actually needing to install a native app. Sometimes you may find yourself needing to view content from multiple PWA pages at once, though. You could open the other page in the main Vivaldi browser window, but you could also open it in a second PWA window.
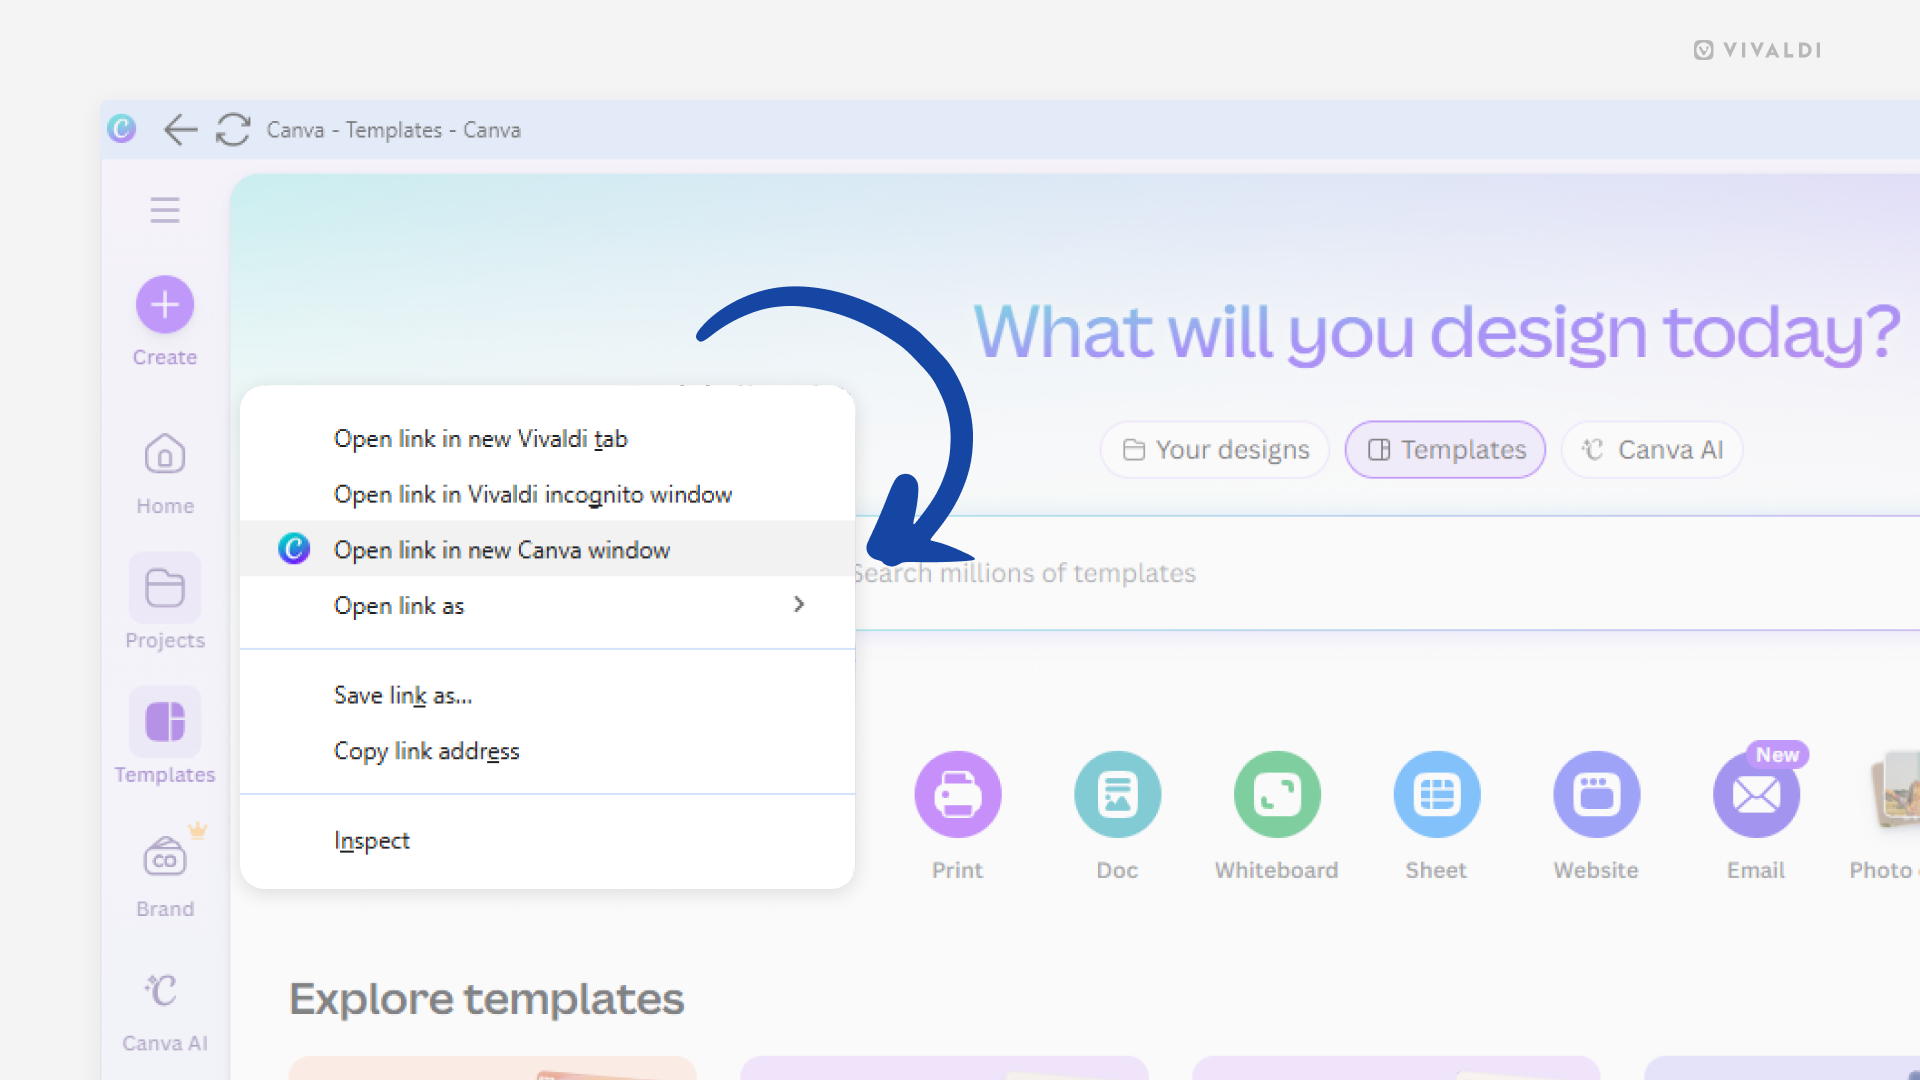
To open a page from the PWA’s domain in another window:
- Right-click on the link.
- Select “Open link in new [PWA name] window”.
Tip #781
January 8, 2026
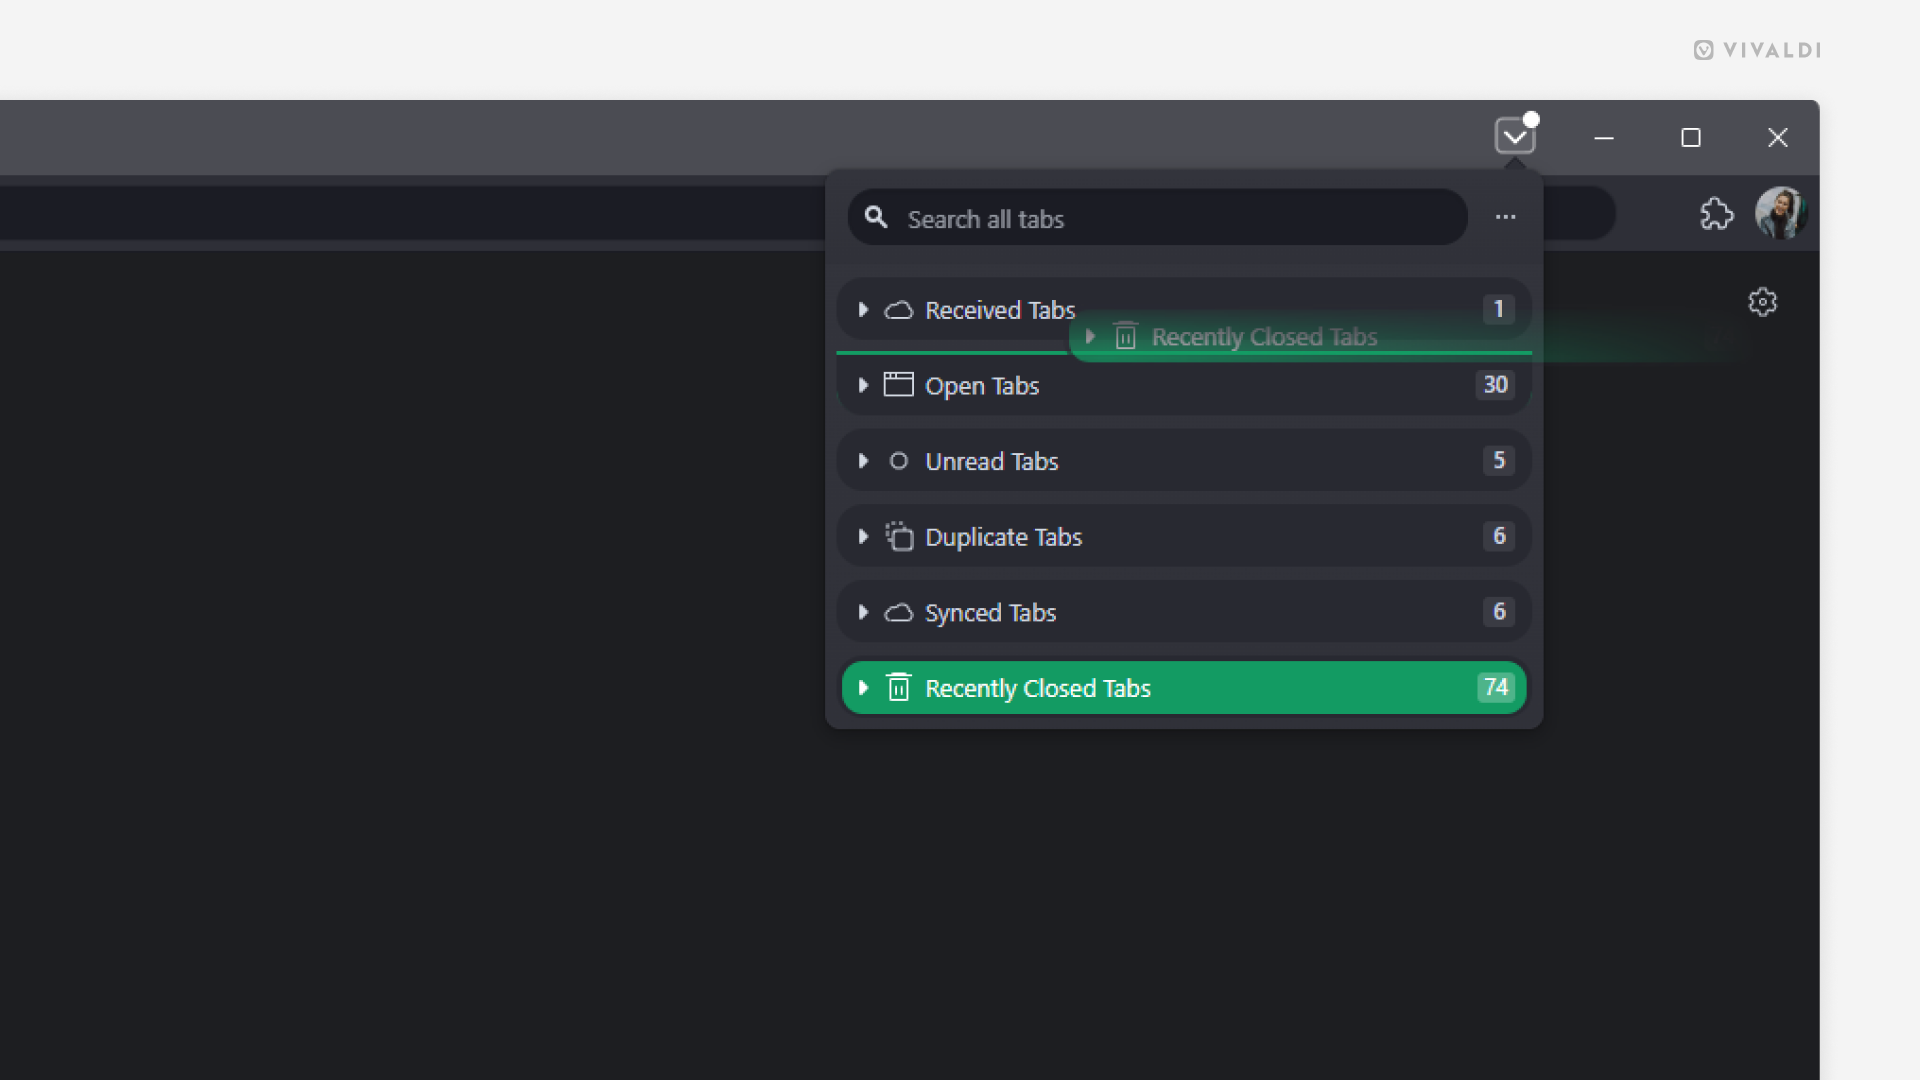
Reorder Tab Button sections to find the right tab faster.
Need quick access to synced or recently closed tabs rather than open tabs? Update the order of sections in the Tab Button popup to match your preferences.
To reorder sections:
- Open the pop-up menu.
- Click and drag the section you want to move.
- Release the mouse button to drop the section at its new location.
Tip #780
January 6, 2026
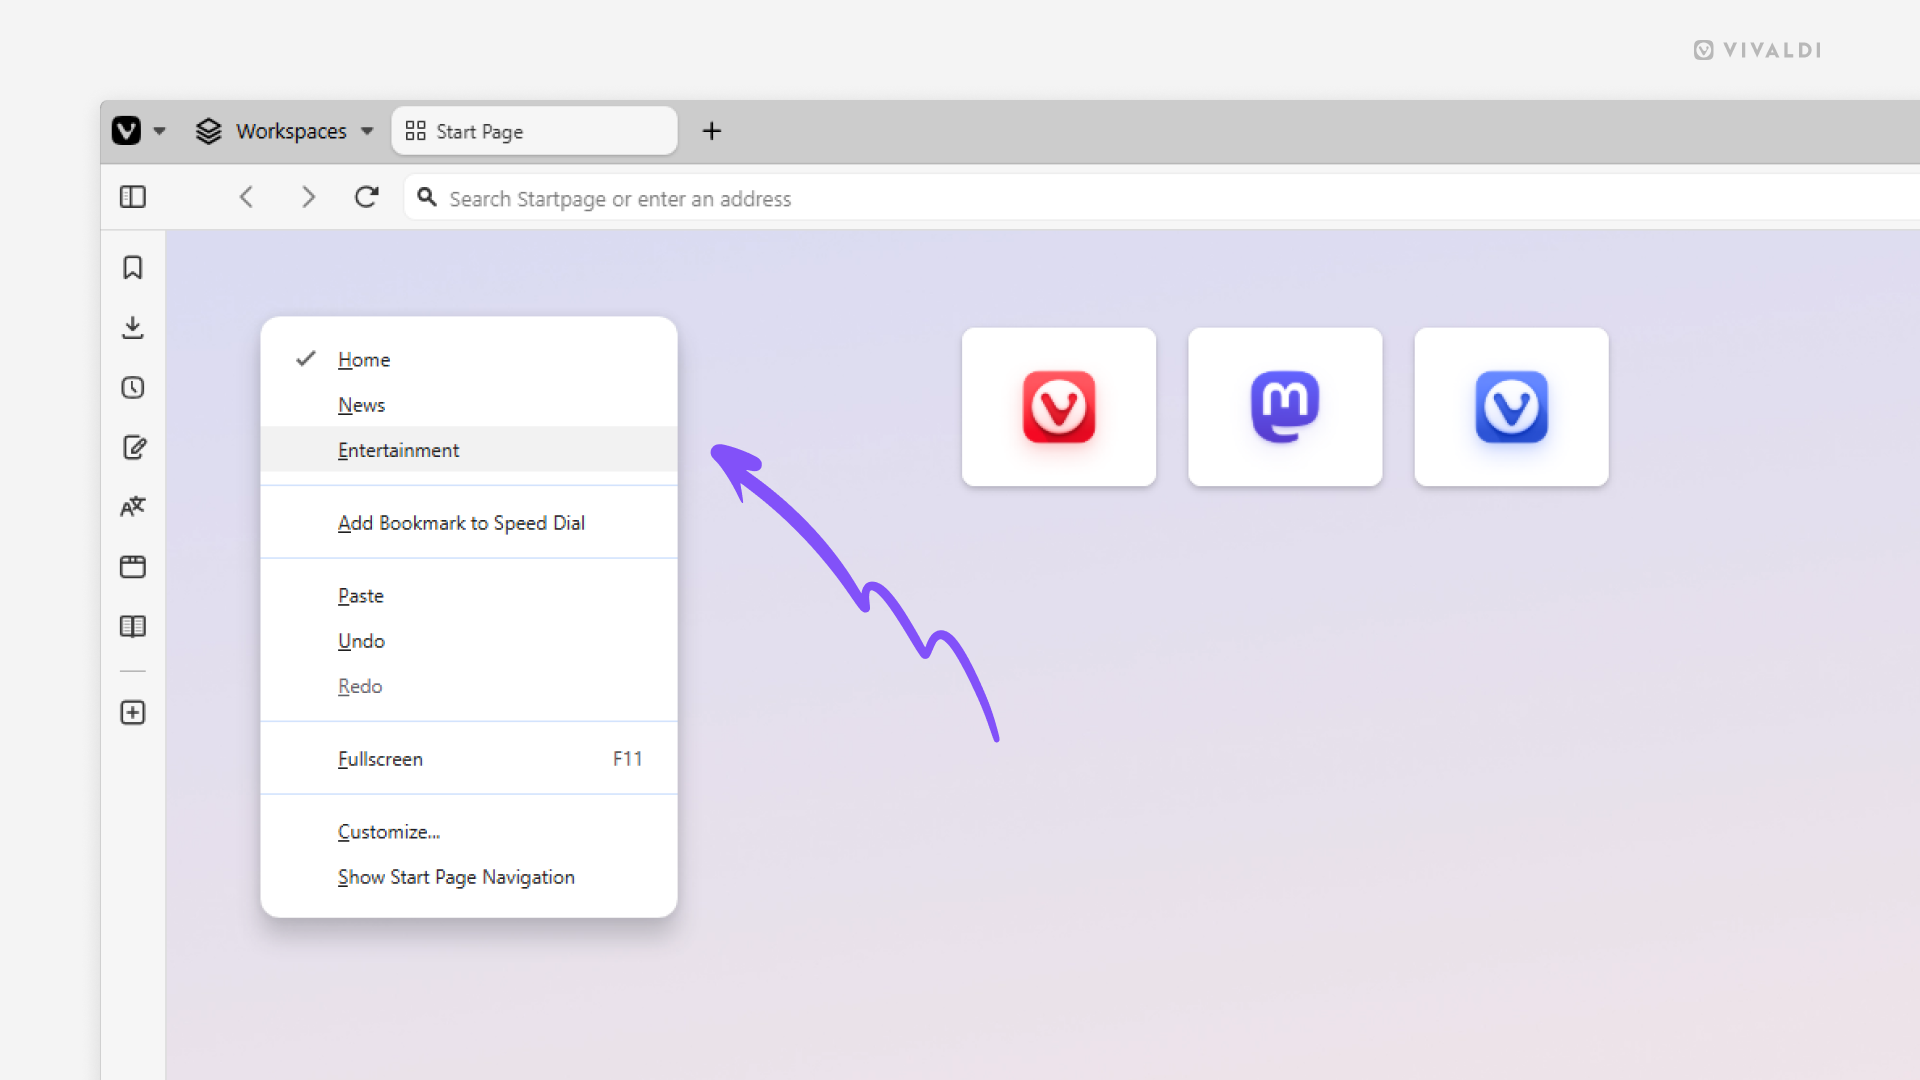
Switch Speed Dials from the right-click menu.
Have you hidden the navigation bar on the Start Page for a more minimalistic look, but still want to access your various Speed Dial groups? Luckily, Vivaldi offers you an alternative navigation option.
To switch Speed Dial groups:
- Right-click on an empty area on the Start Page.
- Click on the Speed Dial group’s name you want to switch to.
Tip #778
December 16, 2025
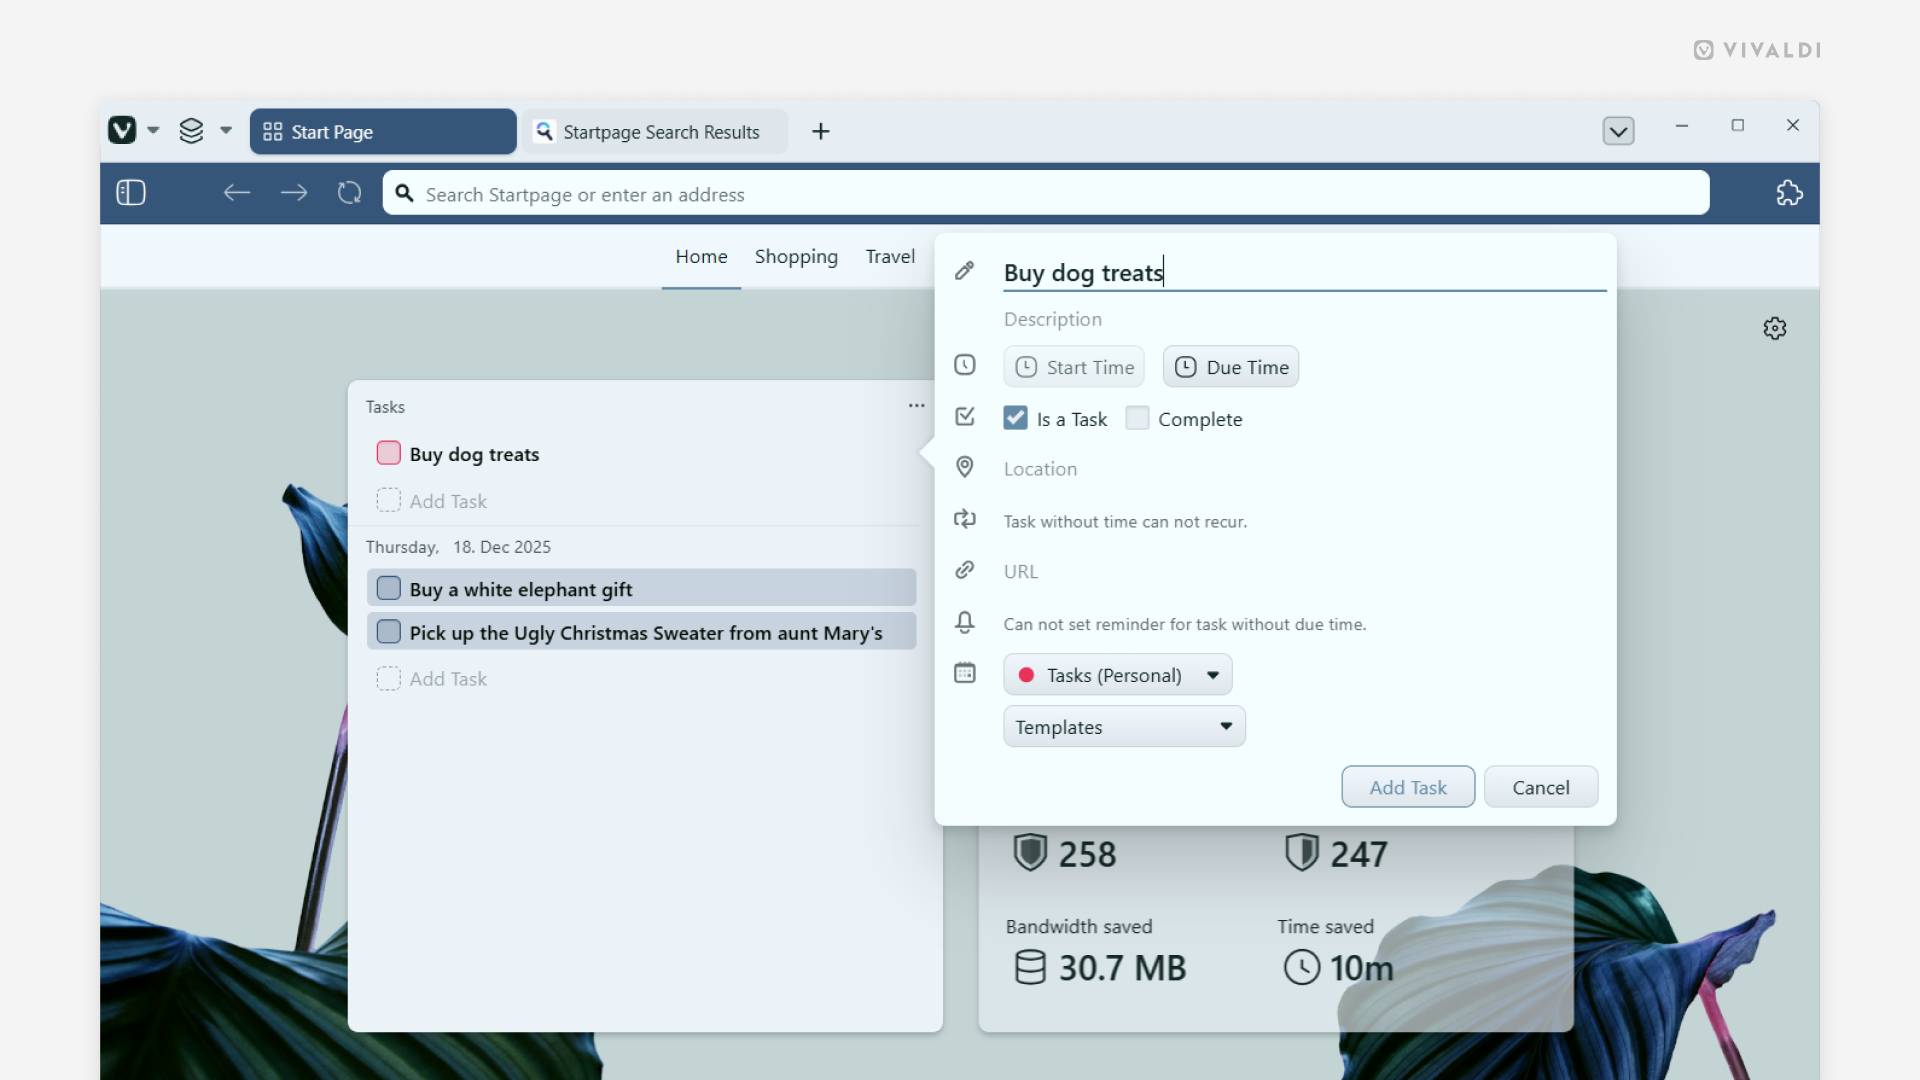
View and add tasks in the Tasks widget on the Start Page.
There are several ways you can view and add tasks to your calendar in Vivaldi. In this tip, we’re going to look at a way to do it on the Start Page.
First, to add a Tasks widget:
- Click on the “Widget” button at the bottom of the Start Page.
- Select “Tasks”.
To add a new task:
- Click on “Add Task” in the widget.
- Give the task a title, and, if needed, add a deadline and additional information.
- Click “Add Task”.
To mark tasks as done via the Tasks widget, simply click on the checkbox in front of the task’s title.
Tip #776
December 9, 2025
Discover all the ways you can move tabs to other windows.
We’re strong believers of the browser needing to adapt to you, not the other way around. That’s why in Vivaldi, the same action can often be executed in many different ways, so you could choose the one that works best for you.
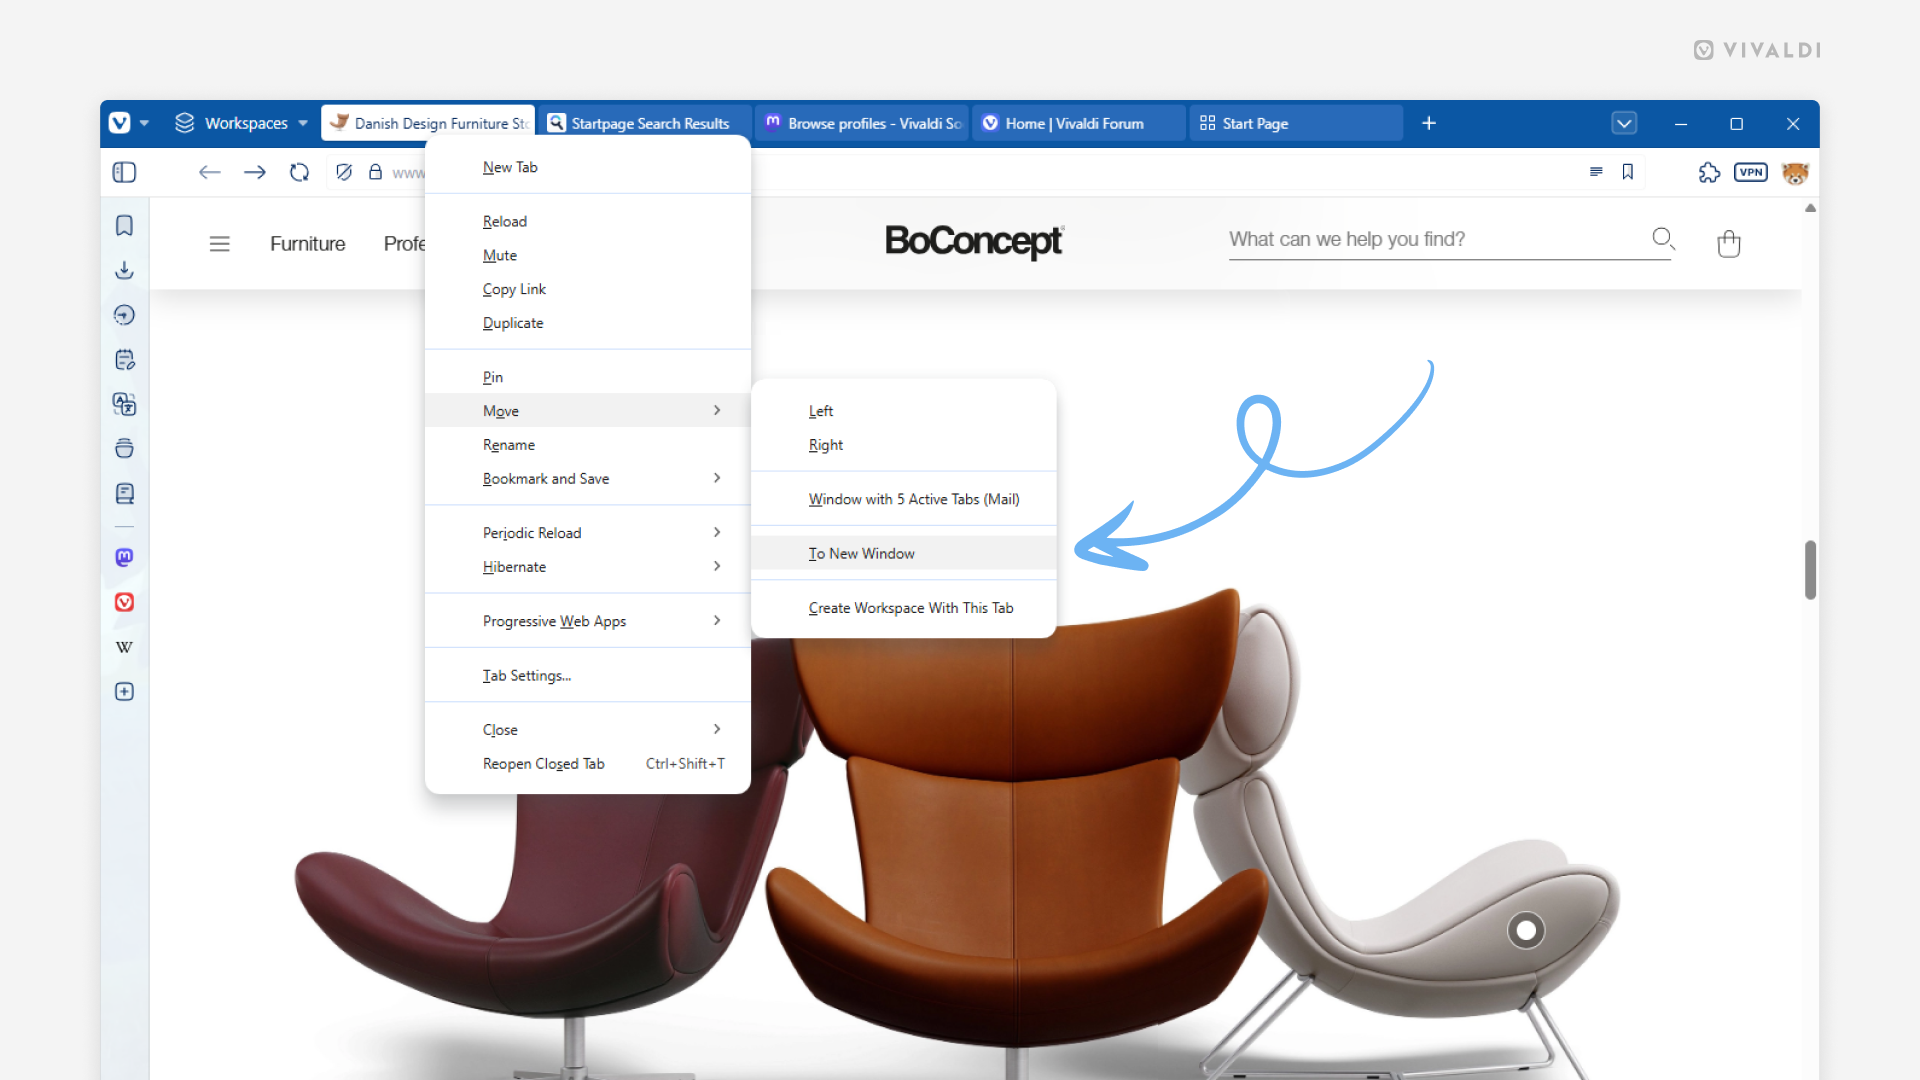
Here are all the ways you can move a tab to a new window:
- Right-click on the tab on the Tab Bar and select Move > To New Window.
- Drag the tab off the Tab Bar, either outside the window or onto the web page area.
- While the tab you want to move is the active tab, type “Move Tab to New Window” in Quick Commands.
- Create a Keyboard Shortcut or a Mouse Gesture for the action.
And here are all the ways you can move a tab to an existing window:
- Right-click on the tab on the Tab Bar and select Move > Window with # Active Tabs.
- While two windows are side by side, drag the tab from one Tab Bar to the other.
- In the Windows and Tab Panel, drag the tab from one window section to the other.
Tip #775
December 4, 2025
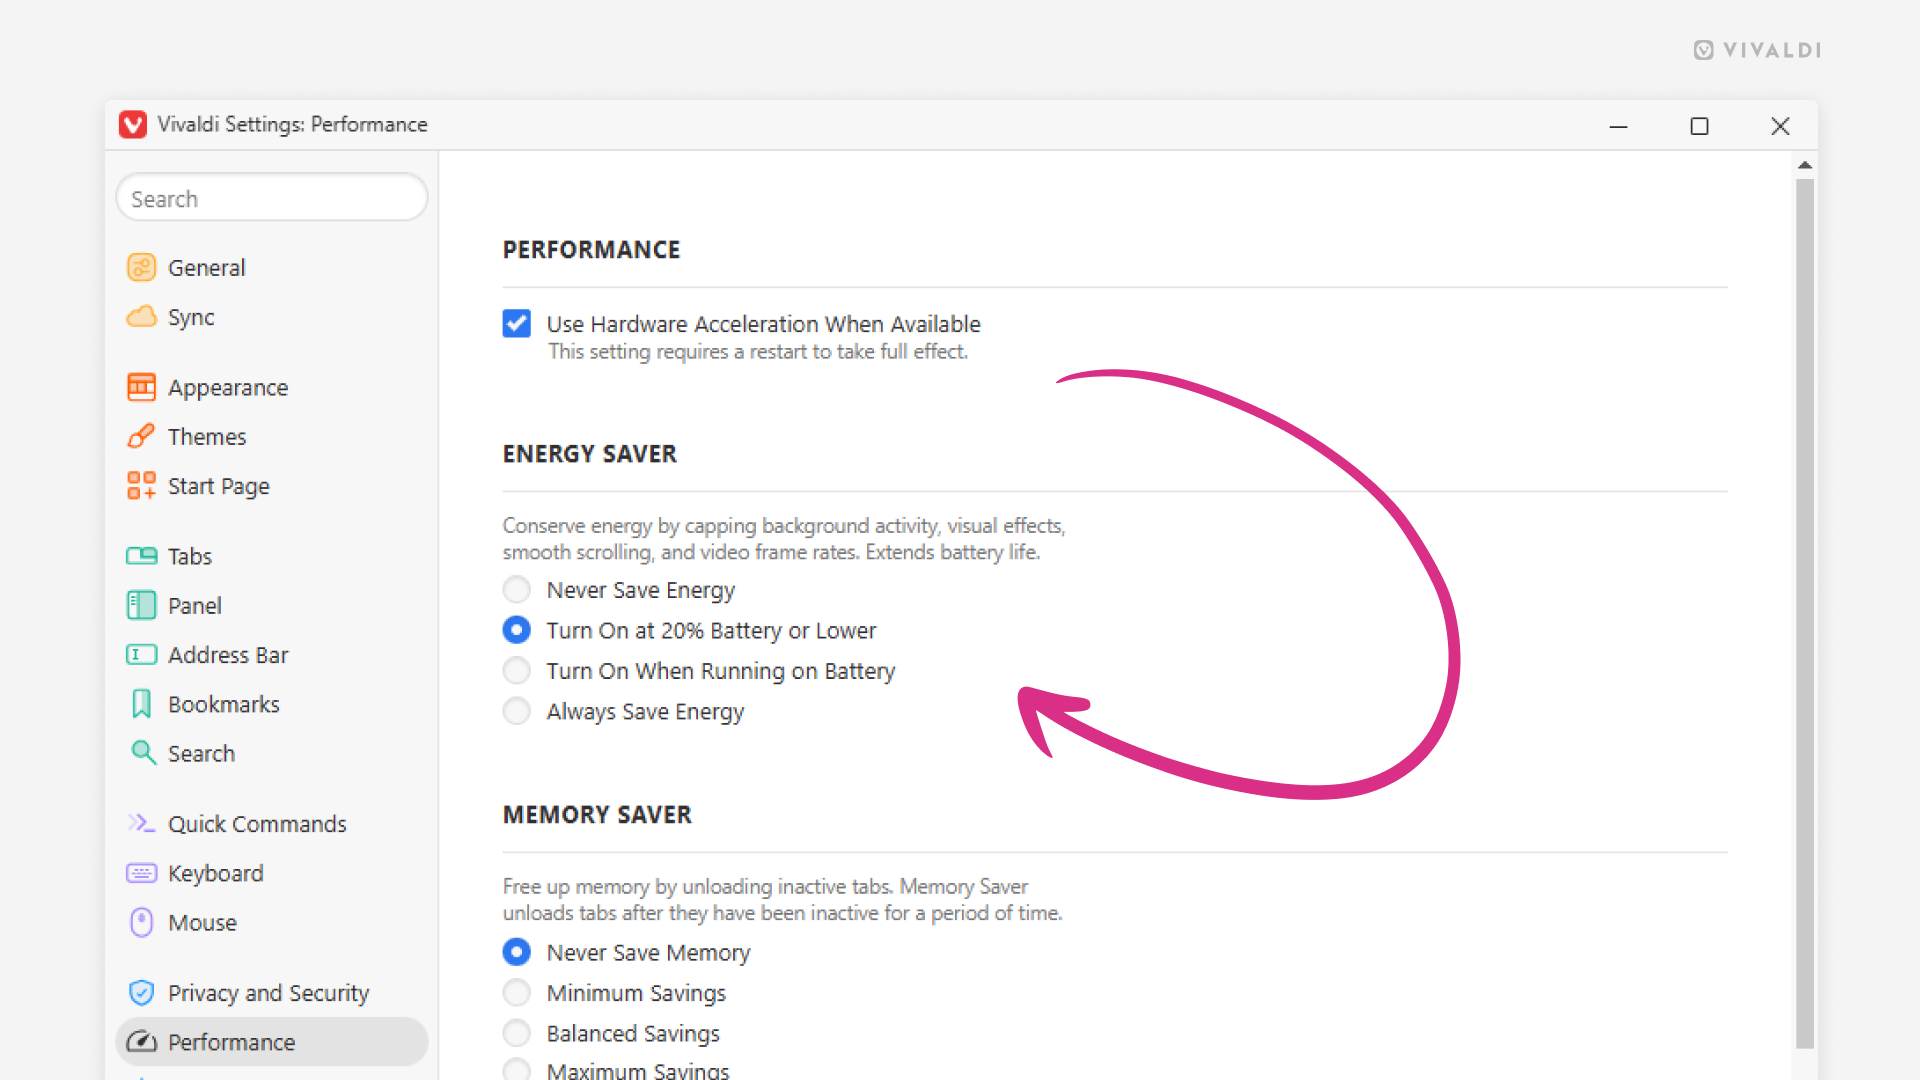
Make your laptop’s battery last longer by enabling the Energy Saver.
If you’re using Vivaldi on a device that runs on battery, you can extend the battery life by capping background activity, visual effects, smooth scrolling, and video frame rates.
To choose your energy saving level:
- Go to Settings > Performance > Energy Saver.
- Select between:
- Never Save Energy,
- Turn on at 20% Battery or Lower,
- Turn on When Running on Battery,
- Always Save Energy.
Tip #773
November 27, 2025
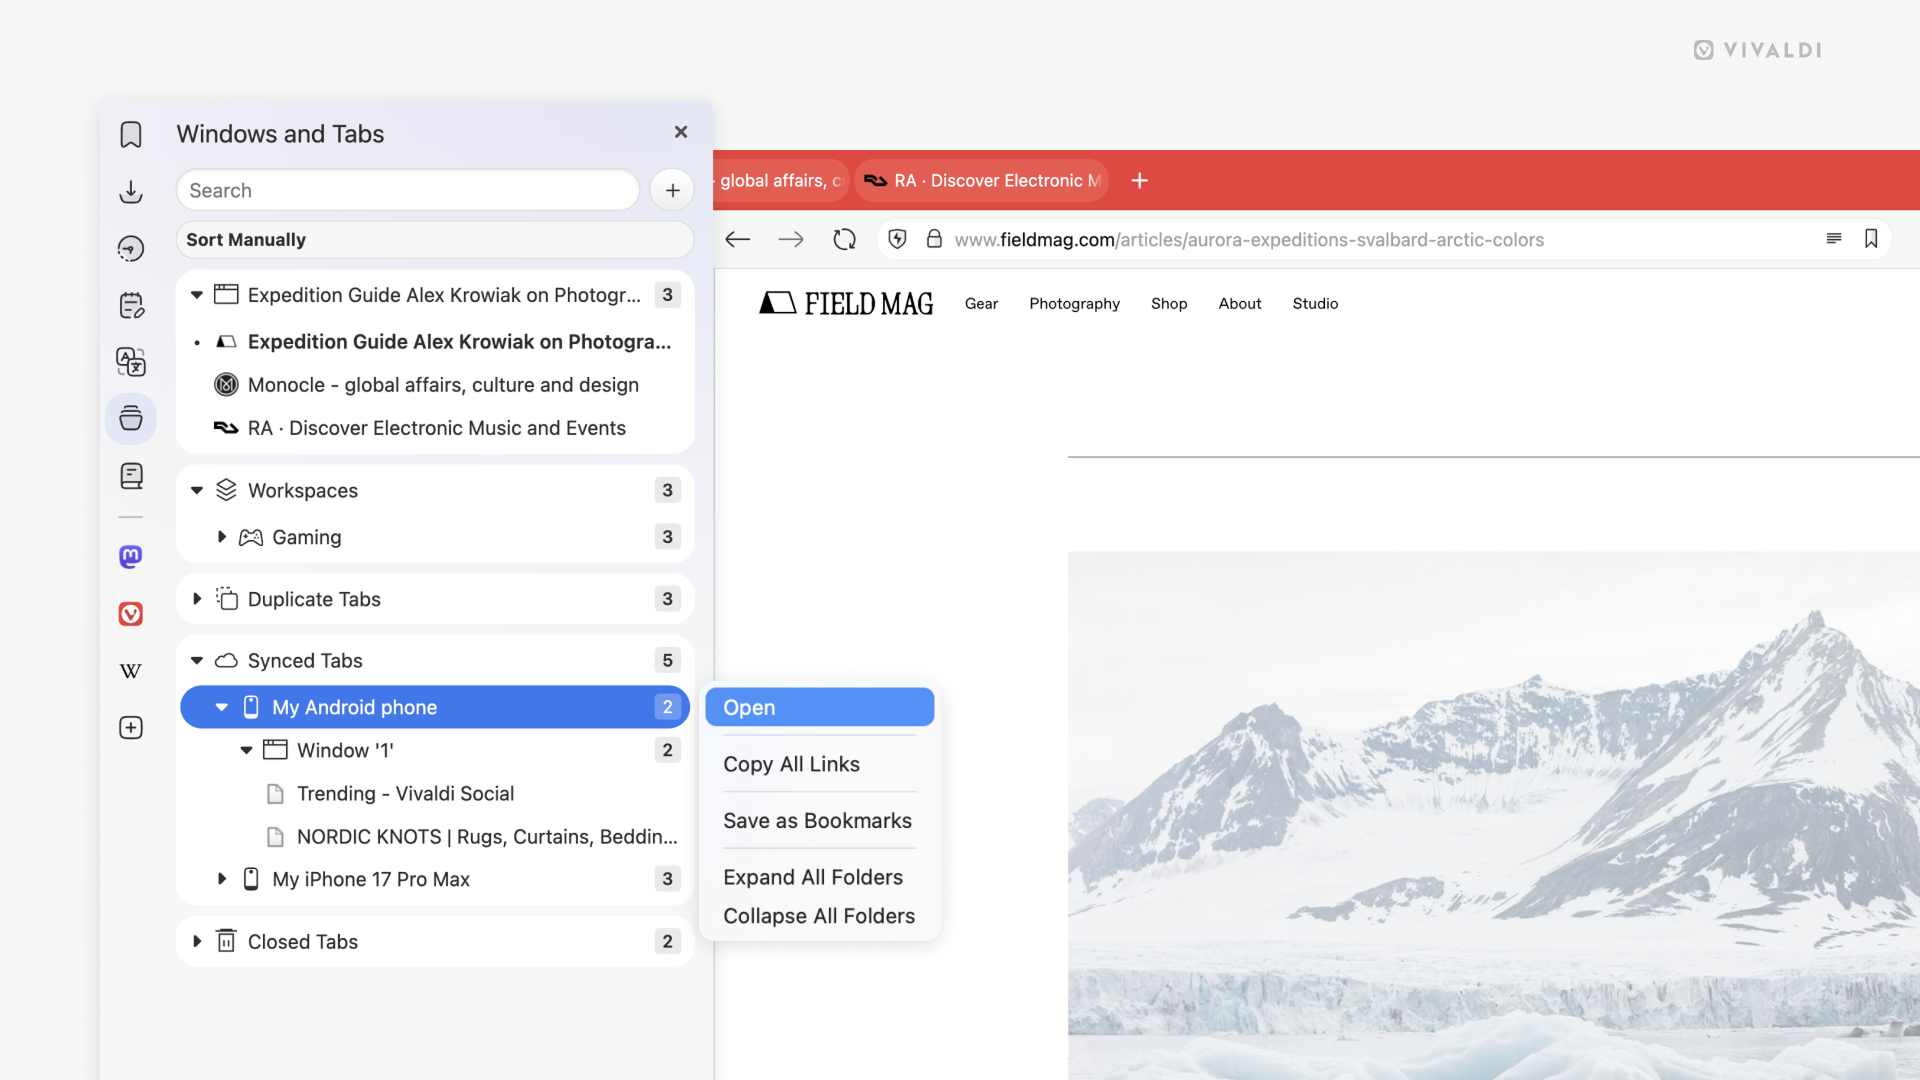
Open a group of synced tabs easily from the Windows Panel or the Tab Button.
When you’re browsing on multiple devices, you may find yourself in a situation where, while using Vivaldi on your computer, you need to access tabs that you have open on other devices.
To open synced tabs:
- Make sure you’re logged in to Sync with the same Vivaldi account on all devices, and that tab syncing is enabled.
- Open the Windows Panel or the Tab Button.
- Right-click on the group of tabs you want to open. It can be all tabs on the device, in a chosen window, Workspace, Tab Stack, or a precise selection of tabs.
- Select “Open” from the context menu.
In case you only want to open one tab, a quick (double-)click on that tab in the list of tabs is all you need to do.
Tip #770
November 18, 2025
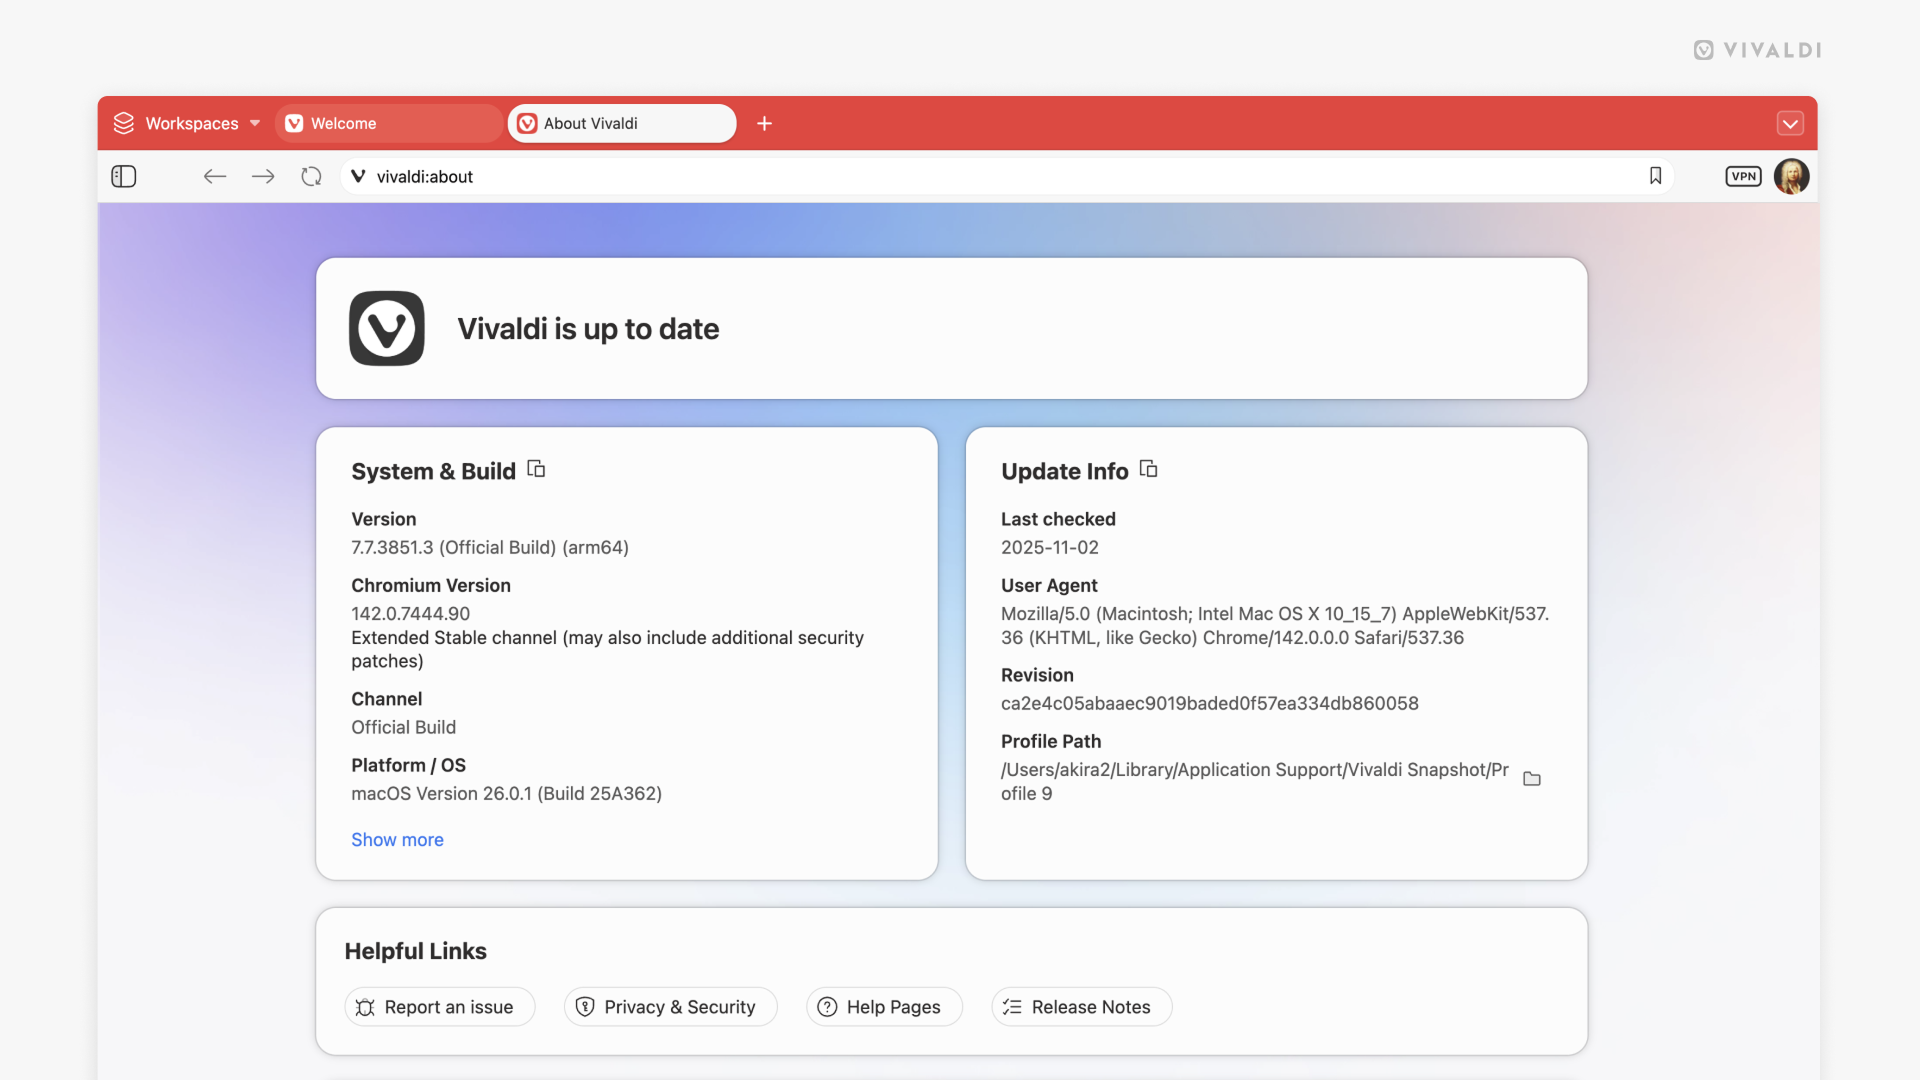
Check for updates on the browser’s About Page.
If you’re ever wondering whether you have the latest browser version with all the coolest new features and the most recent bug fixes, simply head over to the About Page.
To open the About Page, either:
- Go to the main menu > Help > About.
- Type “vivaldi:about” in the Address Field.
- Type “About” in Quick Commands.
There, on top of the page, you can see whether the browser is up to date, needs a quick restart to update, or, in case you have automatic updates disabled, an update can be downloaded.
Tip #769
November 13, 2025
Make the most of Speed Dials and Widgets by combining them on your Start Page.
The Start Page is for populating it with your favorite and most used bookmarks – Speed Dials. To take it to the next level, you can also add Widgets to each Speed Dial group, creating unique dashboards that meet your browsing needs.
To add a new Speed Dial group:
- Go to the Bookmark Panel or Bookmarks Manager.
- Right-click on a folder and select “Use as Speed Dial”.
To add Widgets to the Speed Dial:
- Go to the Speed Dial group you want to add widgets to.
- Click on “Widget” at the bottom of the page.
- Click on the one you want to add.
- Repeat to add all the widgets you need.
