Desktop Tips
Tip #188
January 9, 2023
Create independent apps from websites by installing them as Progressive Web Apps.
If you like to use web services in their own app, give Progressive Web Apps (PWA) in Vivaldi Browser a try. They can be opened from shortcuts and used in their own window separate from the main browser.
To install a website as a PWA:
- In a tab, open the website you want to install.
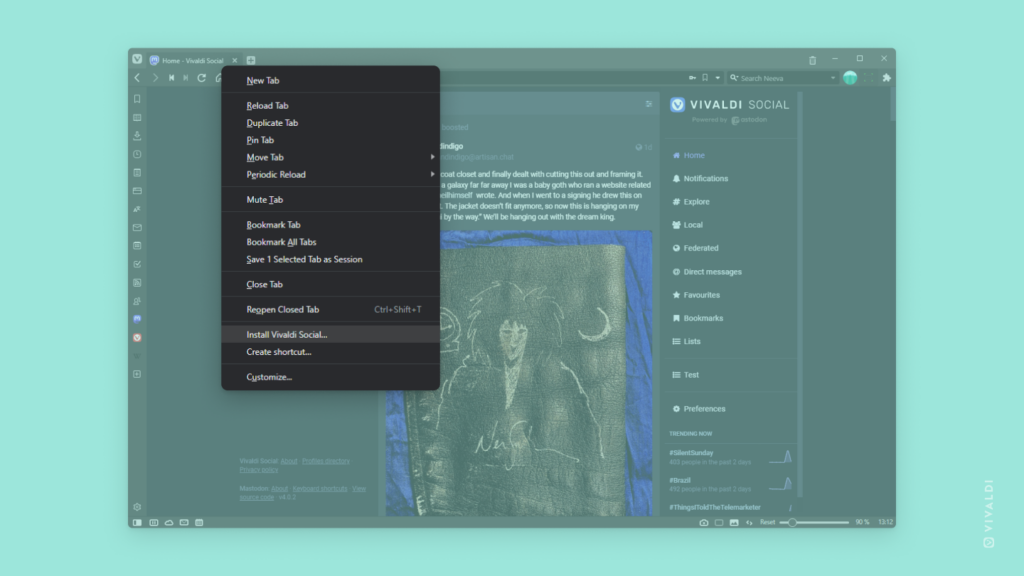
- While the site is open in the active tab, right-click on the tab on the Tab Bar.
- Select Install [website name] from the context menu.
- Click Install in the small pop up asking you to confirm your action.
In case you don’t see the option to install the website in the context menu, the website doesn’t support running as a PWA. In that case, while the site is open in the active tab:
- Choose Create a shortcut from the context menu instead.
- Tick the box for Open as Window.
- Click Create.
Tip #186
January 5, 2023
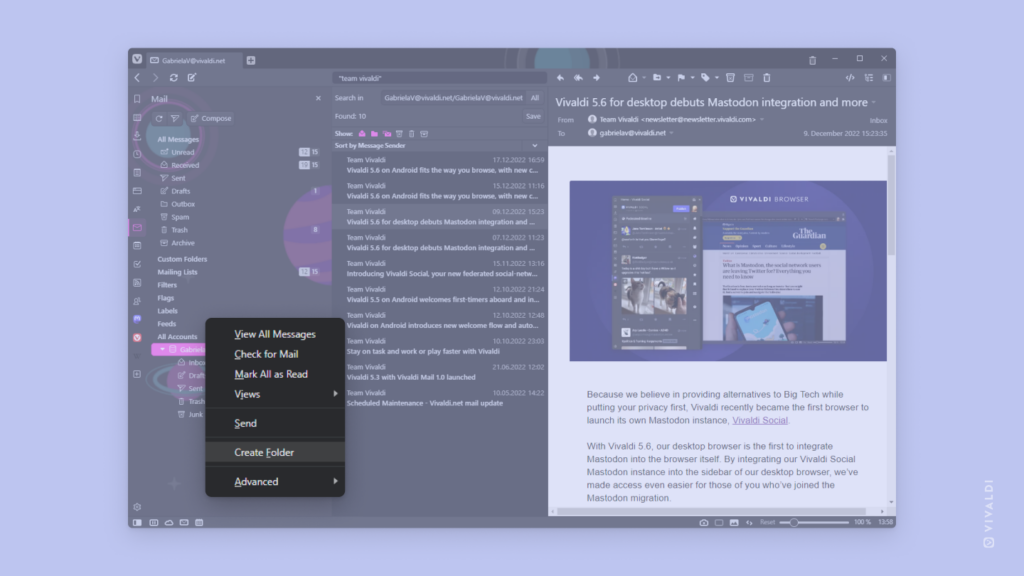
Add a new folder to your mail account from the Mail Panel.
Messages can be organized using Filters, Flags and Labels, but the classic option is folders. You can add new folders in the email account’s web interface or in a client where the account has been set up.
To add a new IMAP folder in Vivaldi Mail:
- Open the Mail Panel.
- In All Accounts section, right-click on the account you want to add the folder for.
- Select Create Folder from the context menu.
- Give the new folder a name.
- Click Create Folder.
Tip #184
January 3, 2023
Hover your mouse over the Tab Bar and scroll to switch tabs.
In Tip #53 we told you how to switch tabs with right-click and scroll. In this post we’re sharing another tab switching option using your mouse’s scroll wheel.
To use the feature:
- Go to Settings > Tabs > Tab Features > Tab Cycling.
- Enable Switch Tabs by Scrolling.
To switch tabs:
- Hover your mouse cursor over the Tab Bar.
- Use the mouse’s scroll wheel to go through the list of open tabs.
Tip #183
January 2, 2023
Combine Vivaldi on Windows with Razer Chroma to make browsing more immersive and personal.
If Santa brought you new Razer Chroma gear for your computer, you can include Vivaldi in the color play. When Razer Chroma devices have been connected, your Theme‘s accent color will be reflected on the devices.
To enable Razer Chroma integration:
- Make sure your Chroma devices are connected to your computer.
- Go to Settings > Themes > Razer Chroma Theme Integration.
- Click Enable Razer Chroma Integration.
- Select the devices you want to sync with Vivaldi.
Make it more fun by enabling Accent from Page in your active theme’s settings or by setting up theme scheduling.
Tip #182
December 30, 2022
Follow accounts on Vivaldi Social and other Mastodon instances with Vivaldi Feeds.
If you don’t feel like going to Mastodon regularly to see what people you like post, you can have their posts come to you in the Vivaldi Browser by subscribing to their content with Vivaldi Feeds.
To add a Mastodon account to Vivaldi Feeds:
- Open the profile of the account you want to follow. Make sure the profile is open on its own instance. It’s not possible to subscribe to a feed when viewing it through a different instance.
- In the Address Field, type
.rssat the end of the URL. - On the feed preview page, click Subscribe.
- If you wish, update the feed title and refresh interval.
- Click Add Feed.
Tip #181
December 29, 2022
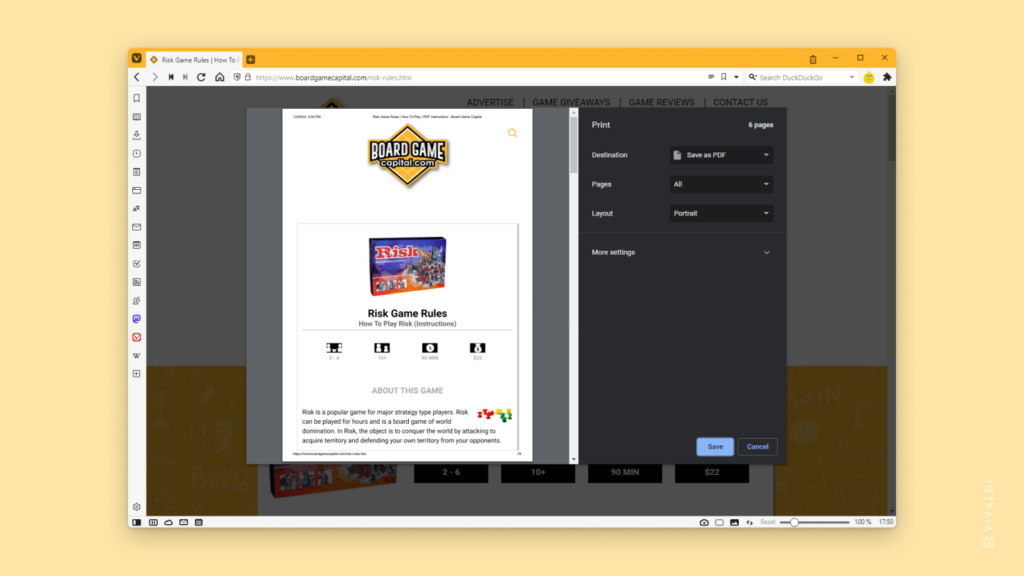
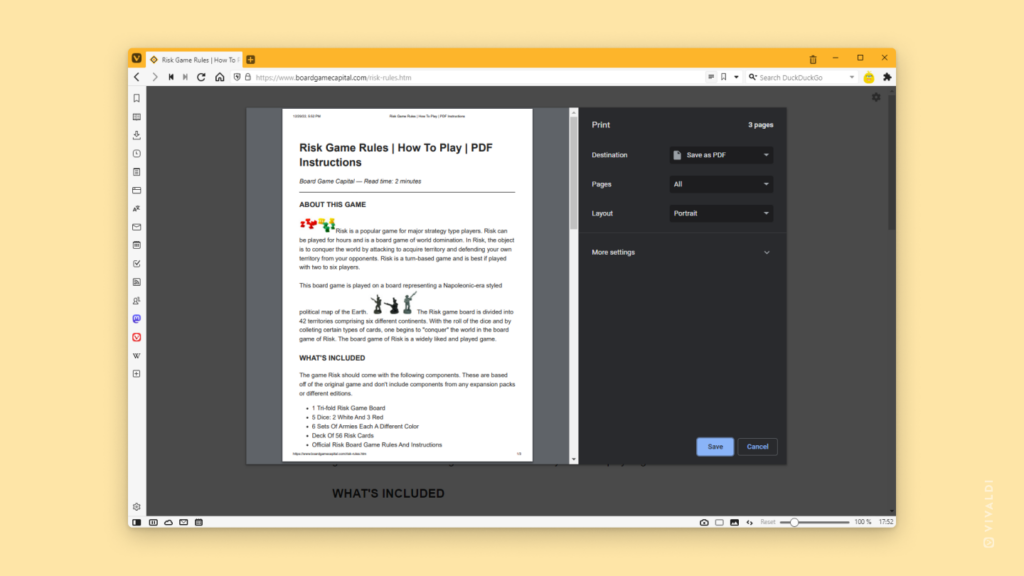
Enable Reader View before printing to remove the clutter and print only the important content.
Many websites, especially news sites, strip the printable page of irrelevant content. In case the web page you’re trying to print doesn’t do that, you can switch to Reader View, which will remove unnecessary sections and lets you print just the article. In addition, by using Reader View, you can adjust the font, font size, and line height before printing.
Here are the steps:
- Open the page you want to Print.
- Enable
 Reader View from the button on the right side of the Address Field.
 - If needed, adjust the text from
 Reader View settings in the top right corner.
 - Open the Print menu from
 Vivaldi menu > File > Print (Ctrl + P / ⌘ P).
 - Review print settings.
- Click Print.
Tip #178
December 23, 2022
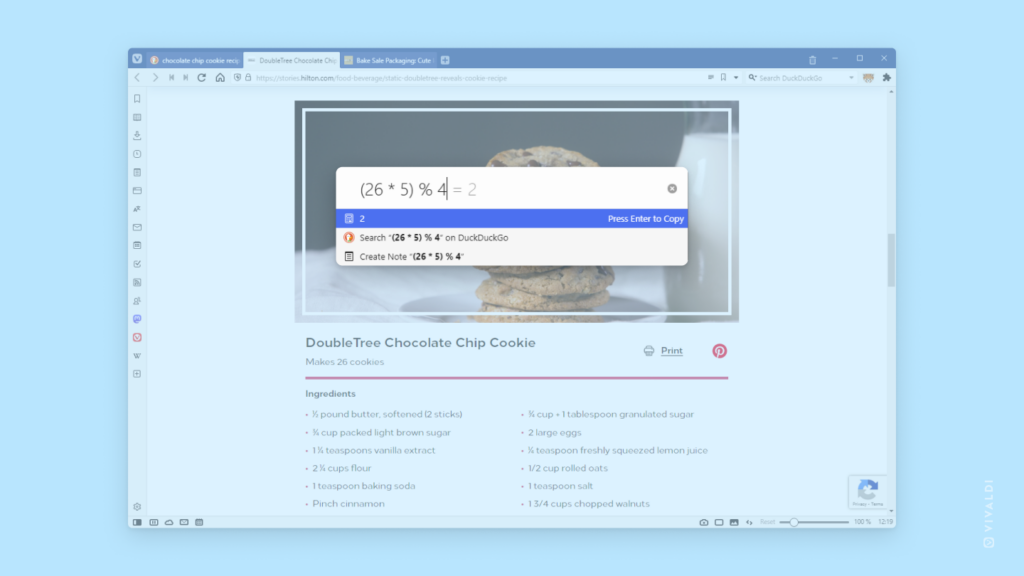
Use Quick Commands for quick calculations.
Quick Commands are a treasure box of options. You can use it to search, execute commands and also to do simple calculations.
To get an answer to an easy math problem:
- Open Quick Commands by pressing F2 / ⌘ E on your keyboard.
- Start typing the equation.
As soon as an equation is recognized the answer will be automatically displayed. Press Enter or click on the highlighted line below the text field to copy the answer.
Tip #175
December 20, 2022
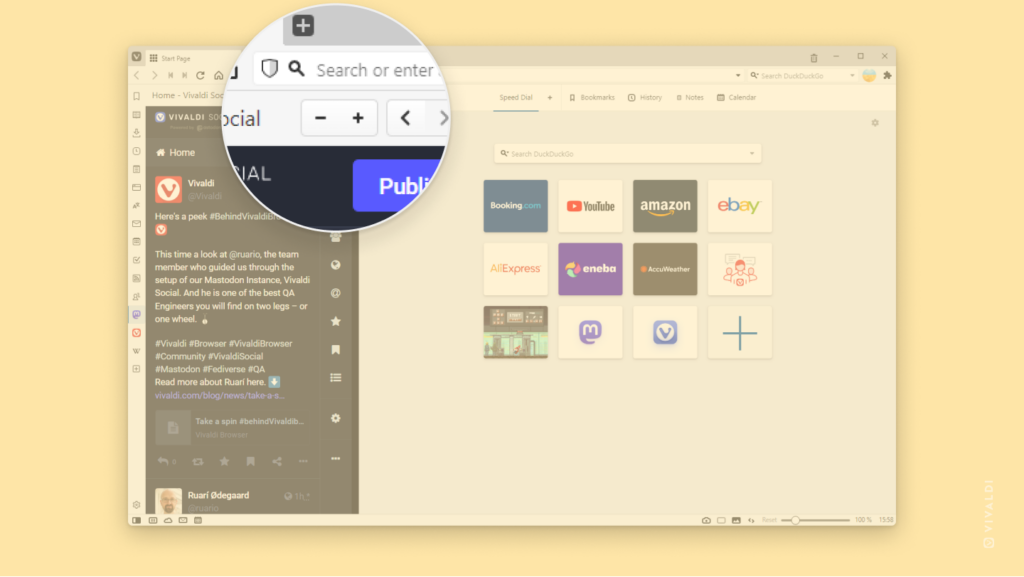
Enable Zoom Controls to change the page zoom level in Web Panels.
Web Panels are customizable Tabs which allow you to keep your favorite sites easily accessible in the side Panel of Vivaldi. And just like with web pages open in a tab, you can adjust the zoom levels for web pages added to Web Panels as well.
To increase or decrease the size of the content in Web Panels:
- Right-click on a Web Panel.
- Select Navigation Controls > Display Zoom Controls from the context menu.
- Then click on the zoom buttons
 and
and  at the top of the Web Panel to zoom in and out.
Zoom level is retained through closing and reopening of the Web Panel and browser restarts.
Tip #173
December 16, 2022
Get a reality check on how many trackers and ads actually follow you on the web from Privacy Statistics.
When you have Vivaldi’s Tracker and Ad Blocker enabled, you can take a look at how many trackers and ads have been blocked while you’ve been browsing with Vivaldi.
To see how many trackers and ads have been blocked on the website you’re on, click on the ![]() Content blocker button on the left side of the Address Field.
Content blocker button on the left side of the Address Field.
To see overall statistics, head over to the Start Page and take a look at the Privacy Statistics bar near the top. Click on it to see details.
In case you’ve disabled Privacy Statistics, you can use Quick Settings accessible from the top right corner of Start Page to enable them again.
Tip #171
December 14, 2022
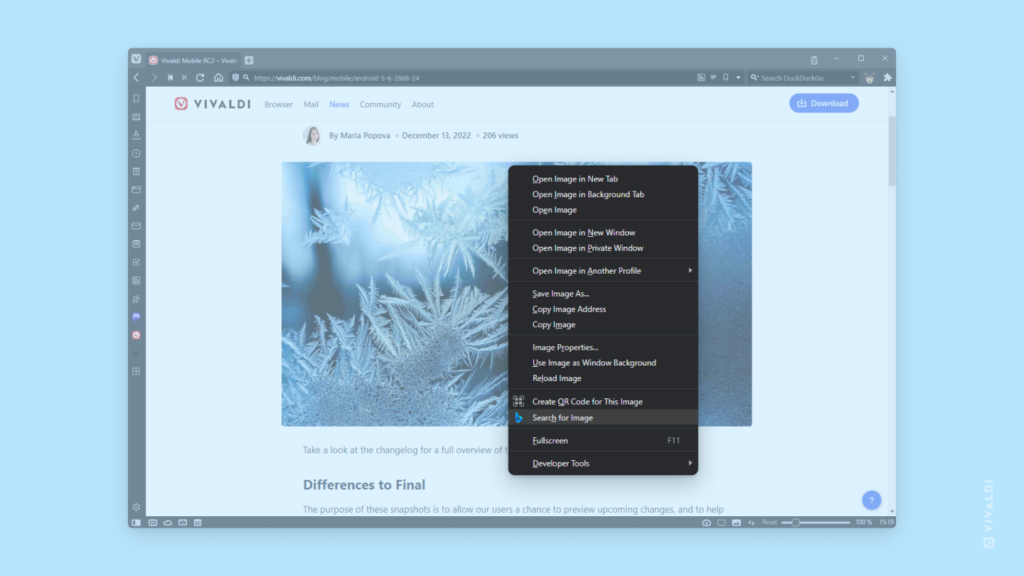
Find similar images with reverse image search.
When you come across an image on a web page or have one saved and you want to find similar images or track down the original source and author of the image, you can use reverse image search.
To search with an image:
- Open the web page with the image or open an image stored on your computer from Vivaldi menu > File > Open File.
- Right-click on the image to open the context menu.
- Select Search for Image.
To change the Image Search Engine:
- Go to Settings > Search > Image Search Engine.
- Select your preferred search engine from the dropdown menu.
Currently, the search can be done using either Bing’s or Google’s image search. If you know any other search engines that offer searching with an image, you can add them as a new search engine. Make sure to fill out the Image Search URL and Image Search POST Parameters info.
Tip #169
December 12, 2022
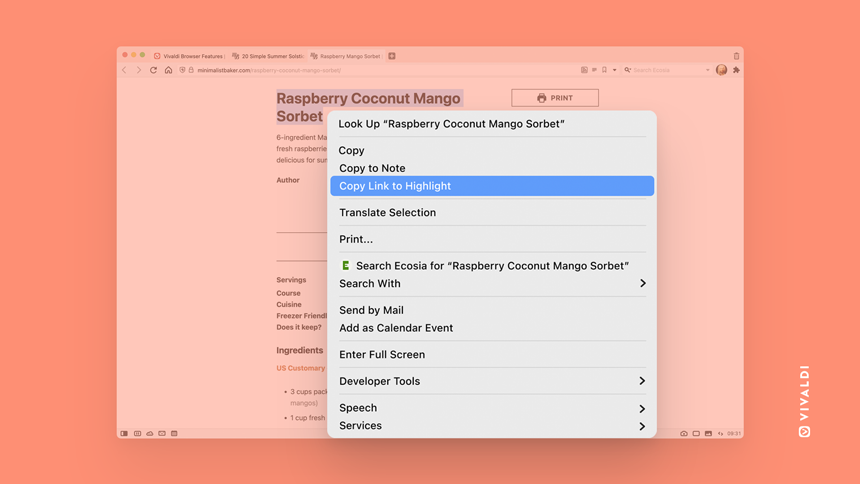
Share links that point directly to the highlighted section of the page with “Copy link to highlight”.
Instead of sharing a link and asking the recipient to look for a specific section of the page themselves, you can create a link that loads the page exactly at the spot you want them to see. To share a link like that:
- Highlight the part of the page you’d like to share.
- Right-click on it and choose “Copy link to highlight”.
- Send that URL to anyone using a Chromium-based browser.
When opening the shared link, it’ll go to the highlighted part of the page instead of to the top of the page.👏
Tip #168
December 9, 2022
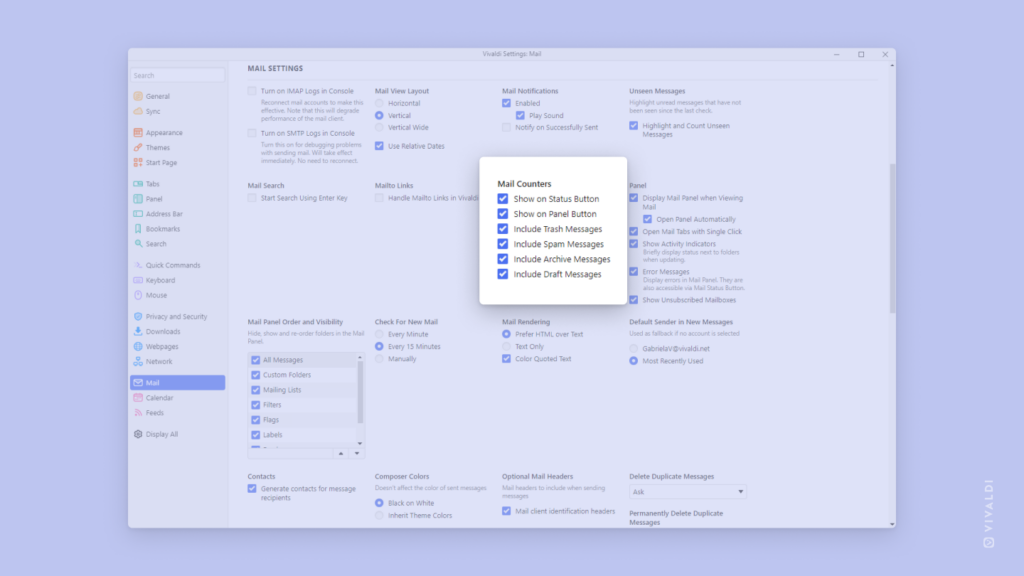
Choose where you see Vivaldi Mail’s unseen and unread message counters and which messages should be included.
Mail counters help you see from the browser’s Panel and Status Bar, how many unseen message you have, without needing to open the Mail Panel. In addition, you have the choice to toggle on and off unread counters for messages in Trash, Spam, Archive and Draft folders in the Mail Panel.
To review Mail counters:
- Go to Settings > Mail > Mail Settings.
- In Mail Counters section adjust the options according to your preferences.
