Vivaldi Tips
A huge collection of Vivaldi browser tips, tricks and hacks.
Tip #189
Januar 10, 2023
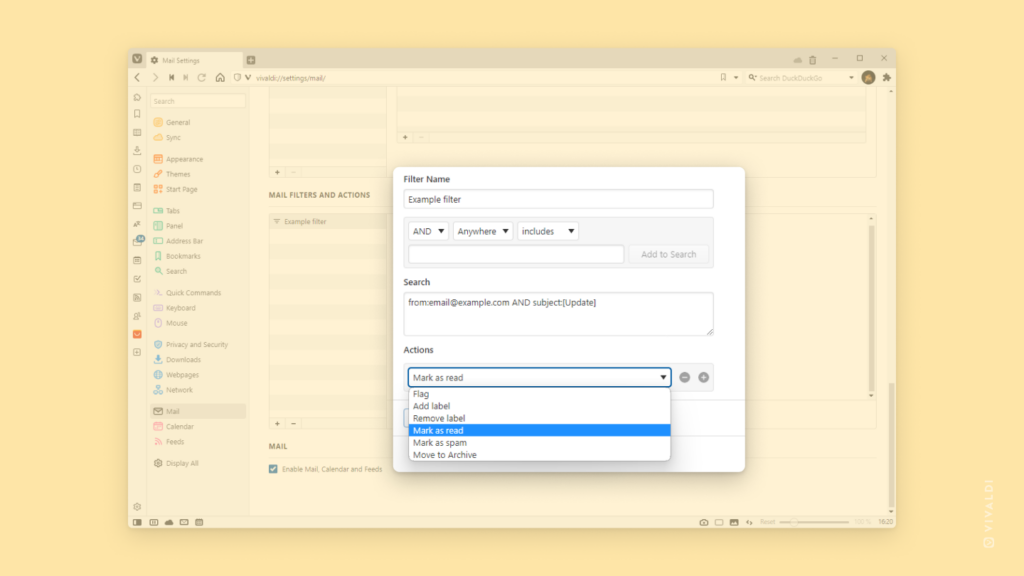
Mark incoming Mail messages automatically as read.
Not all messages you receive are equally important. For example, you might be subscribed to updates or newsletters that are good to have, but don’t need immediate attention. Having less unread messages is less intimidating and important messages will be more noticeable.
To create a filter in Vivaldi Mail to mark messages as read:
- Go to Settings > Mail > Mail Filters.
- Click
 Add Mail Filter at the bottom of filters list.
 - Give the filter a name.
- Define the criteria for filtering. For example, all emails with a certain subject or all emails sent from a specific email address.
- Click Add to Search.
- If you wish, add additional criteria.
- Click Add Action.
- Select Mark as read.
- Click Add Mail Filter.
Tip #188
Januar 9, 2023
Create independent apps from websites by installing them as Progressive Web Apps.
If you like to use web services in their own app, give Progressive Web Apps (PWA) in Vivaldi Browser a try. They can be opened from shortcuts and used in their own window separate from the main browser.
To install a website as a PWA:
- In a tab, open the website you want to install.
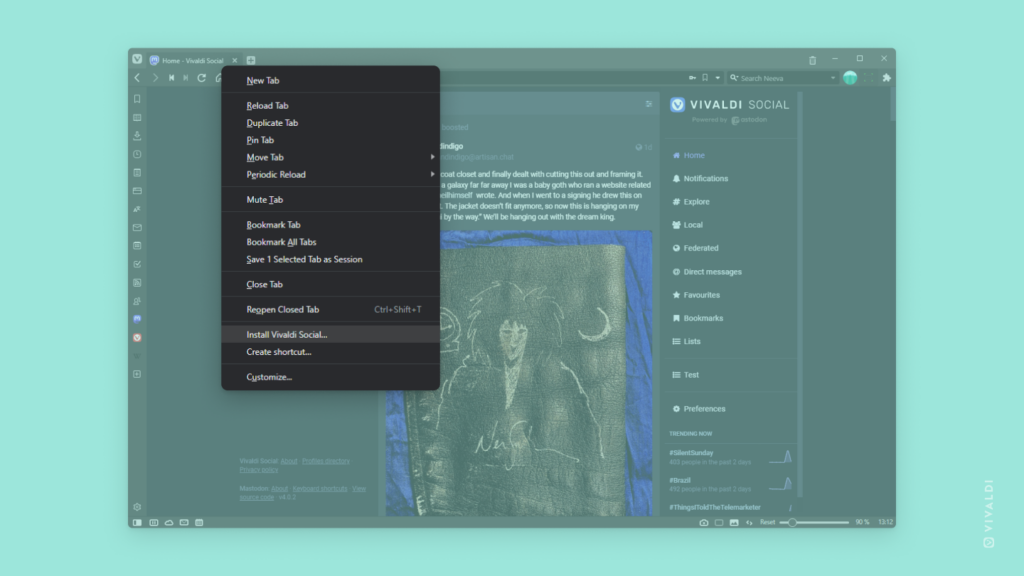
- While the site is open in the active tab, right-click on the tab on the Tab Bar.
- Select Install [website name] from the context menu.
- Click Install in the small pop up asking you to confirm your action.
In case you don’t see the option to install the website in the context menu, the website doesn’t support running as a PWA. In that case, while the site is open in the active tab:
- Choose Create a shortcut from the context menu instead.
- Tick the box for Open as Window.
- Click Create.
Tip #187
Januar 6, 2023
Use an alternative option from Google Play to install Vivaldi on Android.
The most common and convenient place to install Vivaldi on Android is from Google Play. If you can’t or don’t want to use Google Play, there are a few alternative ways to install Vivaldi on your mobile device.
First of all, there are two alternative app stores you can choose from:
The second option involves downloading and installing the APK version of Vivaldi. Before you can install Vivaldi from an APK file, though, allow the installation of APKs either by enabling developer mode on your phone or by giving certain apps (like a browser app) permission to download and install APKs. If you don’t do that before, you’ll be prompted to change the settings once you open the APK file.
To install Vivaldi:
- Go to https://vivaldi.com/android/.
- On the page, click on „Don’t have Google Play?„.
- Download the APK file.
- Open the file on your mobile device.
- Click Install.
Please note that updates via .apk install are not automatic and you need to download and install the latest version after every new release. To ensure you are aware of the latest fixes and security updates, we strongly advise subscribing to our Newsletter or RSS feed, or following our official social media channels.
Tip #186
Januar 5, 2023
Add a new folder to your mail account from the Mail Panel.
Messages can be organized using Filters, Flags and Labels, but the classic option is folders. You can add new folders in the email account’s web interface or in a client where the account has been set up.
To add a new IMAP folder in Vivaldi Mail:
- Open the Mail Panel.
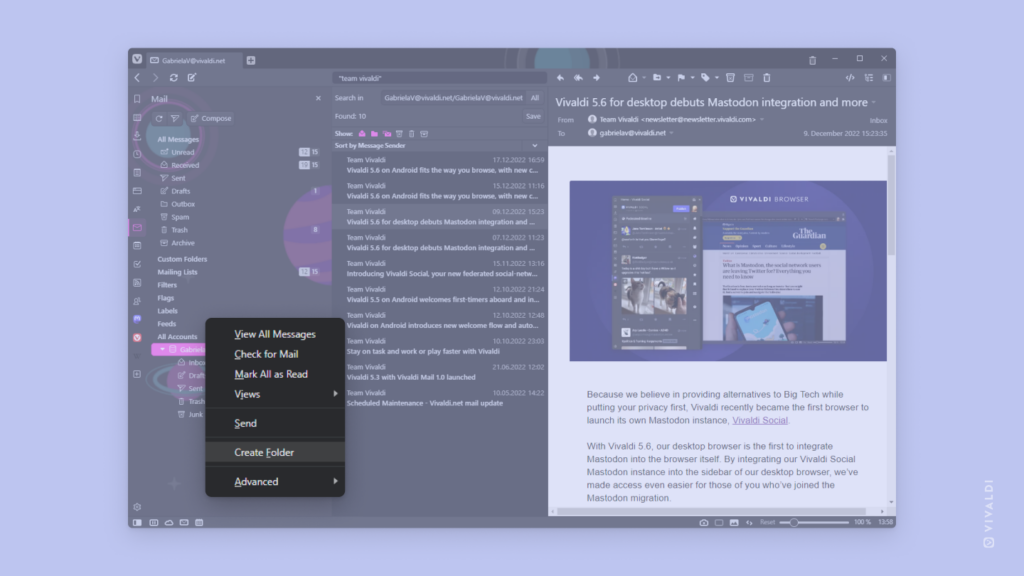
- In All Accounts section, right-click on the account you want to add the folder for.
- Select Create Folder from the context menu.
- Give the new folder a name.
- Click Create Folder.
Tip #185
Januar 4, 2023
Bookmark posts on Vivaldi Forum to find them easily later.
Whether you’ve come across instructions for something, an interesting argument, feature request you want to keep an eye on or something else, you can bookmark the post on the Vivaldi Forum. Then, when you need it, you can just go to your bookmarks to revisit the post, instead of searching through thousands of posts.
To bookmark a forum post:
- Make sure you’re logged in to your Vivaldi account.
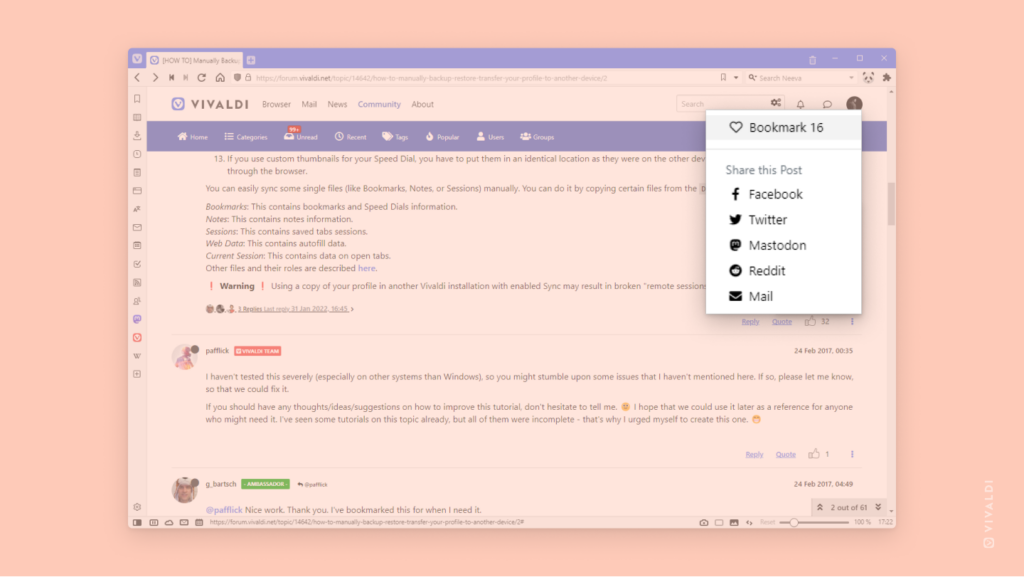
- Below the post you want to bookmark, on the right side, click on the
 menu button.
 - Select Bookmark.
The number next to the menu option lets you know, how many others have already bookmarked the same post.
To view your bookmarks:
- Go to your Forum profile.
- On the bottom edge of your profile’s cover image, on the right, click on the
 menu button in a blue circle.
 - Select Bookmarks.
Alternatively, go to https://forum.vivaldi.net/me/bookmarks.
Tip #184
Januar 3, 2023
Hover your mouse over the Tab Bar and scroll to switch tabs.
In Tip #53 we told you how to switch tabs with right-click and scroll. In this post we’re sharing another tab switching option using your mouse’s scroll wheel.
To use the feature:
- Go to Settings > Tabs > Tab Features > Tab Cycling.
- Enable Switch Tabs by Scrolling.
To switch tabs:
- Hover your mouse cursor over the Tab Bar.
- Use the mouse’s scroll wheel to go through the list of open tabs.
Tip #183
Januar 2, 2023
Combine Vivaldi on Windows with Razer Chroma to make browsing more immersive and personal.
If Santa brought you new Razer Chroma gear for your computer, you can include Vivaldi in the color play. When Razer Chroma devices have been connected, your Theme’s accent color will be reflected on the devices.
To enable Razer Chroma integration:
- Make sure your Chroma devices are connected to your computer.
- Go to Settings > Themes > Razer Chroma Theme Integration.
- Click Enable Razer Chroma Integration.
- Select the devices you want to sync with Vivaldi.
Make it more fun by enabling Accent from Page in your active theme’s settings or by setting up theme scheduling.
Tip #182
Dezember 30, 2022
Follow accounts on Vivaldi Social and other Mastodon instances with Vivaldi Feeds.
If you don’t feel like going to Mastodon regularly to see what people you like post, you can have their posts come to you in the Vivaldi Browser by subscribing to their content with Vivaldi Feeds.
To add a Mastodon account to Vivaldi Feeds:
- Open the profile of the account you want to follow. Make sure the profile is open on its own instance. It’s not possible to subscribe to a feed when viewing it through a different instance.
- In the Address Field, type
.rssat the end of the URL. - On the feed preview page, click Subscribe.
- If you wish, update the feed title and refresh interval.
- Click Add Feed.
Tip #181
Dezember 29, 2022
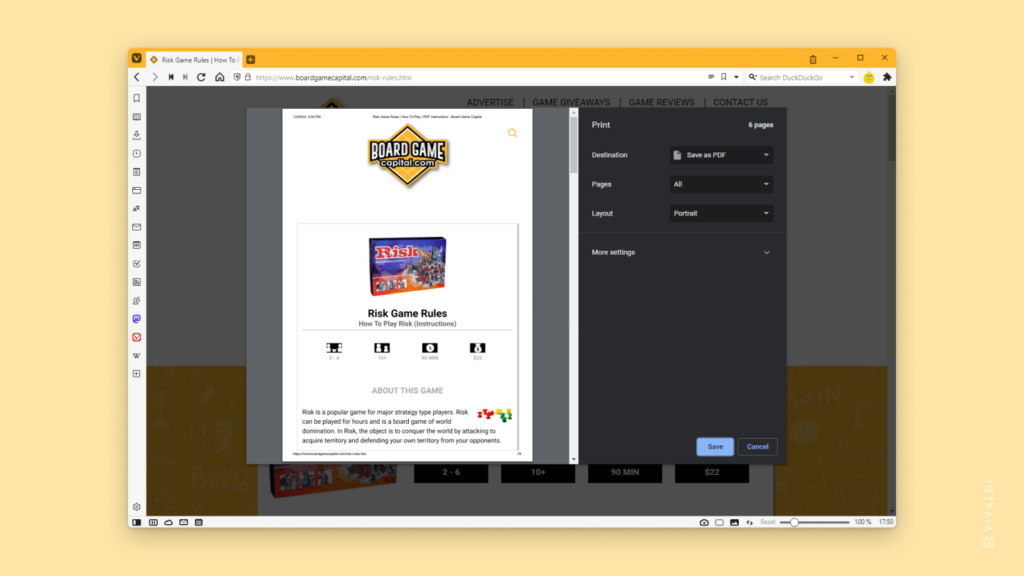
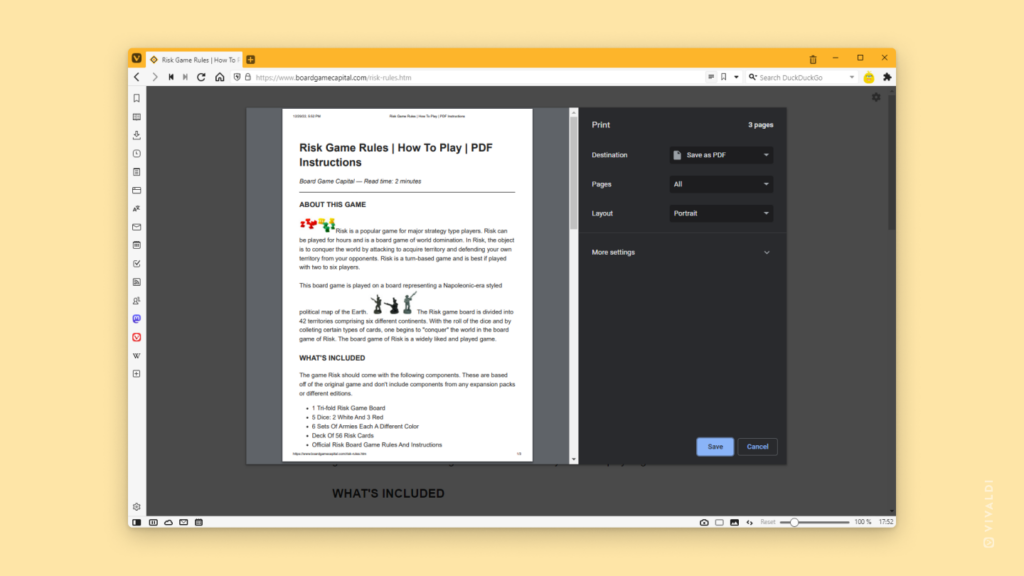
Enable Reader View before printing to remove the clutter and print only the important content.
Many websites, especially news sites, strip the printable page of irrelevant content. In case the web page you’re trying to print doesn’t do that, you can switch to Reader View, which will remove unnecessary sections and lets you print just the article. In addition, by using Reader View, you can adjust the font, font size, and line height before printing.
Here are the steps:
- Open the page you want to Print.
- Enable
 Reader View from the button on the right side of the Address Field.
 - If needed, adjust the text from
 Reader View settings in the top right corner.
 - Open the Print menu from
 Vivaldi menu > File > Print (Ctrl + P / ⌘ P).
 - Review print settings.
- Click Print.
Tip #180
Dezember 28, 2022
Browse with Vivaldi on Android in multiple windows just like on desktop.
Android 12 and up supports opening multiple windows of the same app. This means that if you have a newer mobile device, you can browse with Vivaldi in multiple windows just like on desktop.
Multiple windows are supported better on devices with larger screens, such as tablets. To open a new window on a tablet or a phone with a width larger than 600dp:
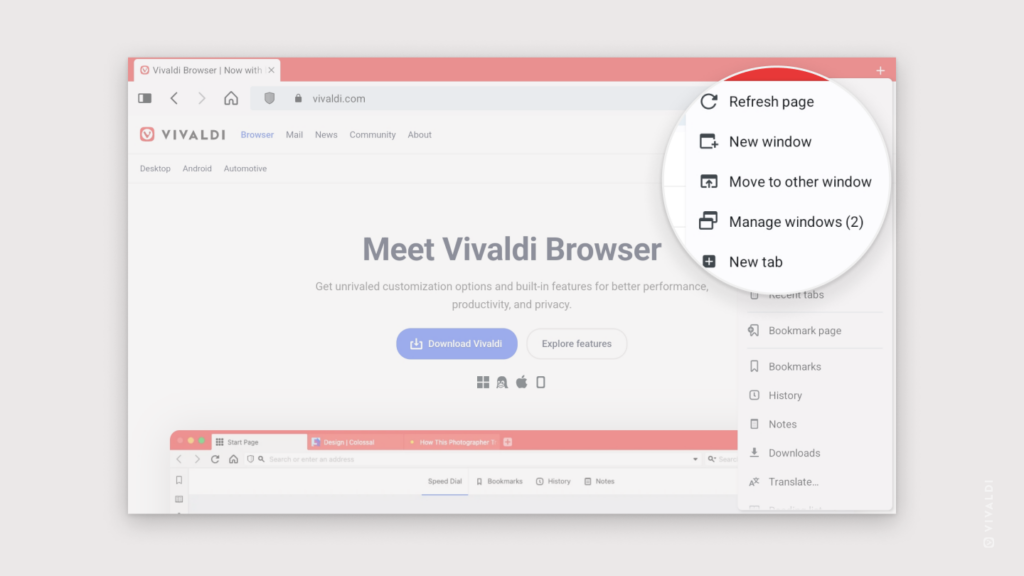
- Open the
 Vivaldi menu.
 - Select New Window.
Though not as convenient, you can open a new window on a smaller screen by following these steps:
- Open Vivaldi.
- Open your device’s app switcher.
- Long-press on the Vivaldi logo above the app preview thumbnail to open a split-screen view.
- Search for Vivaldi and tap on it to open a new window in the other half of the split screen.
- Exit split screen view, for example, by swiping the divider all the way up or down the screen.
When checking the app switcher, you’ll see Vivaldi listed twice or more, if you’ve opened even more windows.
Check out the Help page about Windows on Android to learn more about managing windows on your mobile device.
Tip #179
Dezember 27, 2022
Light or dark? Choose the theme you prefer on the Vivaldi Forum.
Whether dark mode is easier on your eyes or you just enjoy the aesthetic, you now have the option to switch between light and dark themes also on the Vivaldi Forum.
To switch themes on the Forum:
- Click on your avatar in the top right corner and select Settings from the menu.
- In Select a Skin section, select your preferred Theme – Default (light) or Dark.
- Scroll to the bottom of the page and click Save Changes.
Tip #178
Dezember 23, 2022
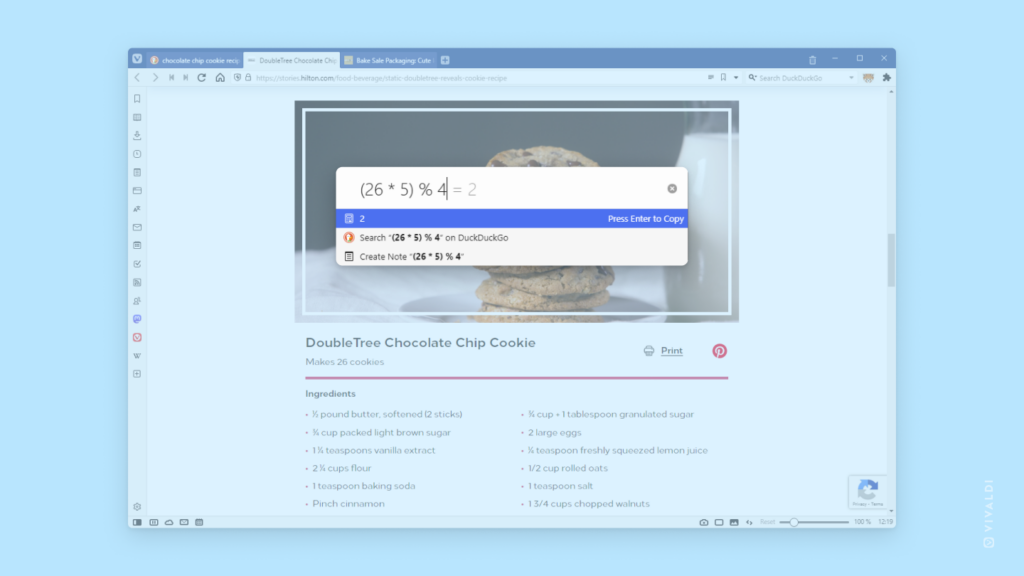
Use Quick Commands for quick calculations.
Quick Commands are a treasure box of options. You can use it to search, execute commands and also to do simple calculations.
To get an answer to an easy math problem:
- Open Quick Commands by pressing F2 / ⌘ E on your keyboard.
- Start typing the equation.
As soon as an equation is recognized the answer will be automatically displayed. Press Enter or click on the highlighted line below the text field to copy the answer.
